
Hunt Smarter: 2026’s Best Cellular & AI Trail Cameras

Walking your hunting property to check trail cameras is essentially announcing to every deer in range that a human has been through. Cellular cameras solved that problem years ago. AI-enabled cellular cameras are solving the follow-up problem – the one where you get 800 photos and spend two hours sorting through pictures of grass blowing in the wind. Here’s what you need to know before buying in 2026.
1. How Cellular and AI Trail Cameras Actually Work
Understanding what’s happening inside the camera – and between the camera and your phone – makes the buying decision a lot clearer.
What’s inside a modern cellular camera
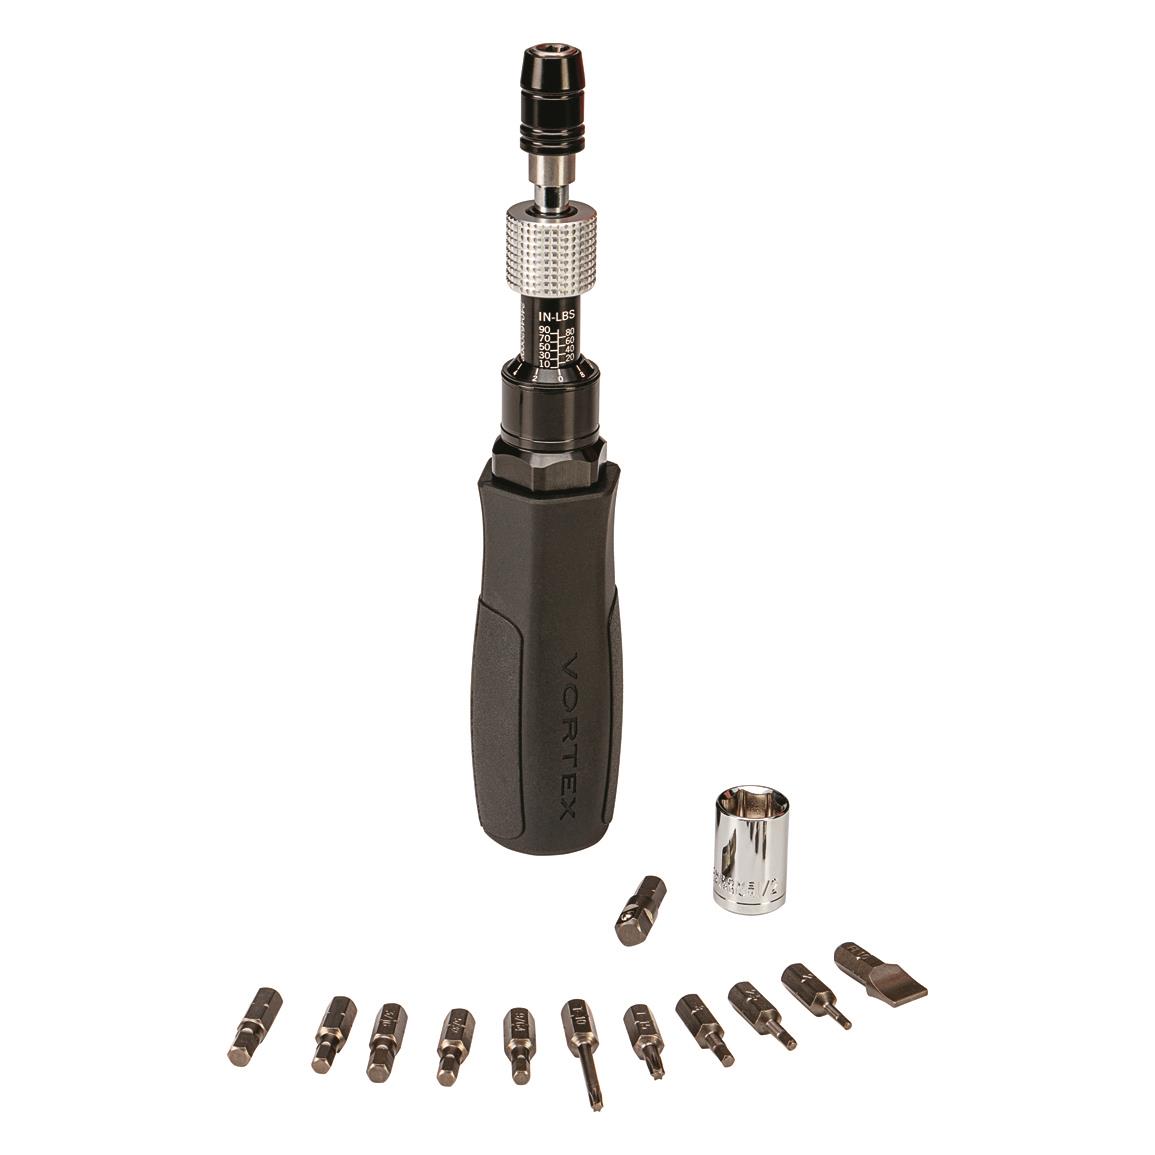
Every 2025-2026 cellular trail camera is built around five core systems working together. A passive infrared sensor detects heat and motion – when a warm-bodied animal crosses the detection zone, it trips the camera. The camera module captures the image, with an infrared illuminator handling night shots. A cellular modem – LTE or 5G depending on the model – sends that image to a server, which delivers it to your phone. A battery system keeps everything running between your visits, increasingly supplemented by solar panels on higher-end units. And increasingly, an AI chip – either onboard or cloud-based – classifies what triggered the camera before the image ever reaches your inbox.
From trigger to your phone
When the PIR trips, the camera captures frames or a short clip. Better cameras compress the file, send a thumbnail immediately for fast notification, and queue the full-resolution image for upload when signal allows. On high-end 5G models, the full image arrives in seconds. On budget LTE models, expect a short delay. Either way, you get an alert on your phone without ever setting foot in the woods.

The practical value is straightforward: a camera running for thirty days might accumulate thousands of triggers. Without cellular delivery, you’re making a trip to pull the card. With cellular delivery and AI filtering, you might receive twenty push notifications – the ones that matter – and browse the rest in a scheduled review.
What AI does in the field
The AI layer classifies what triggered the camera and filters what reaches you. A good system distinguishes deer from humans, bucks from does, and animals from wind-blown vegetation. It can flag trophy-class animals, alert you immediately to human intrusions, and discard the hundred photos of grass your camera took between 2 and 3 a.m. when the wind picked up.
Onboard AI processes images on the camera itself, keeping your data use low and delivering instant notifications without needing to upload every image first. Cloud AI is more accurate and improves over time as manufacturers update their models, but it requires uploading each image before classification – which uses more data and battery. Both approaches are worth understanding before you commit to a platform.
The tradeoffs every buyer should weigh
Higher image resolution means better detail for trophy scoring and animal ID, but it also means larger files, higher data consumption, and faster battery drain. Frequent uploads during an active pre-rut period give you real-time intelligence but can kill batteries in a week. These aren’t problems with a right answer – they’re settings you’ll dial in based on how you hunt.
2. Connectivity: Networks, SIMs, and Monthly Data Costs
Pick the right network for where you hunt
Coverage beats headline speeds. For most rural hunting land in the US in 2026, reliable 4G LTE handles everything you need – thumbnail delivery, full image upload, remote settings changes. It covers the vast majority of hunting country and costs less per month than 5G plans.

5G makes sense when you need near-instant full-resolution video uploads – active scouting on pressured ground where knowing something happened in the last two minutes matters. If you have confirmed 5G coverage where you hunt, the speed advantage is real. If you’re two ridges away from the nearest tower and hoping for the best, 5G hardware is money you didn’t need to spend.
LTE-M and NB-IoT are low-power cellular standards that work well for occupancy alerts – they’ll send you a text when something moved – but they won’t deliver photos quickly. Useful for long-term monitoring setups where data cost and battery life matter more than image delivery speed.
SIMs, eSIMs, and plan options
Most current cellular cameras offer either a built-in eSIM tied to the manufacturer’s plan or a physical SIM slot that accepts third-party carriers. Built-in eSIM is the easiest setup and works fine for most hunters – you activate through the app and get going. Physical SIM slots let you use whatever carrier has the best coverage where you hunt, which can be a significant advantage in areas where AT&T covers one ridge and Verizon covers the next.
Monthly plan costs vary widely. Manufacturer-branded plans run $5-15 per camera per month depending on image count and resolution. Third-party MVNO plans can be cheaper if you know your monthly image volume and can match a data plan to it. Run the math before you commit: a camera taking twenty triggers per day at 1.5MB per full image runs about 900MB per month in images alone – a 1GB plan is tight, a 2GB plan has headroom for thumbnails and overhead.
How to estimate your monthly data before you buy
The formula is simple: average triggers per day, multiplied by your average file size, multiplied by 30 days, plus overhead for thumbnails and failed retries. Thumbnail images run 50-150KB. A full JPEG at standard settings runs 0.8-3MB depending on resolution. A short video clip runs 5-20MB. A camera on an active scrape during the rut might take 30-50 triggers per day – at 1.5MB per image, that’s 2-2.5GB per month just in full images.
Ways to control that number without missing important activity: send thumbnails immediately and queue full images for manual review of flagged detections. Schedule uploads during daylight windows only. Use onboard AI to filter out non-targets before they consume your data budget. These aren’t compromises – they’re how experienced cellular camera users run their setups efficiently.
Test signal before you commit to a location
Carrier coverage maps are optimistic. Walk to the exact tree or post where you plan to mount the camera and check signal strength with your phone – if you get two bars on the same carrier your camera will use, the camera will probably work. One bar is marginal. No bars means repositioning or a different carrier. Many cameras include a signal test mode that reads bars at the mounting height before you finalize placement. External antenna ports on better cameras let you add a directional antenna for marginal sites.

3. Hardware Features That Actually Matter in the Field
Trigger speed and recovery time
Trigger speed is the time between motion detection and image capture. The best current cameras run 0.2 seconds or faster. At a deer’s walking pace, the difference between 0.2 seconds and 0.5 seconds is whether the buck is in frame or exiting it. For cameras covering a narrow trail or a close approach, fast trigger speed matters significantly. Recovery time – how long before the camera can take the next shot – determines whether you capture one frame of a passing deer or the whole sequence. Sub-one-second recovery on burst mode is worth paying for if your cameras cover tight lanes.
Detection zone and PIR sensitivity
A wide detection zone works well for open food plots and field edges where you want to capture animals crossing at any point in the frame. A narrower, front-weighted zone reduces false triggers in heavy cover where wind-blown brush would otherwise trip the camera constantly. Look for adjustable PIR sensitivity – the ability to tune detection range and sensitivity to your specific deployment site makes a meaningful difference in false trigger rate and data consumption.
Image resolution and night illumination
12-24MP is adequate for species identification and basic antler scoring. Higher megapixel counts look impressive in marketing but don’t necessarily translate to better images in practice – camera lens quality and sensor sensitivity matter more than raw pixel count. For night images, choose between low-glow IR (a faint red glow visible to deer at close range, but better image quality) and no-glow IR (completely invisible, slightly softer images). On heavily pressured property where you’re concerned about deer pattern changes, no-glow is worth the trade-off. On remote property where detection risk is low, low-glow typically produces cleaner nighttime images.
Battery life and power options
Lithium AA batteries outperform alkaline in cold weather by a significant margin – in freezing temperatures, alkaline batteries can lose 50% of their rated capacity. For cameras left out through November and December, lithium is the practical choice despite the higher per-battery cost. Rechargeable lithium packs are convenient for high-check-frequency deployments. External battery ports and solar panel compatibility become essential for cameras left in remote locations for weeks or months – a 5W solar panel plus a 20,000mAh battery pack can sustain a moderately active camera essentially indefinitely.
Local storage and overwrite behavior
Confirm whether your camera overwrites the oldest images when the SD card fills or stops recording. For a camera you check every few weeks, overwrite mode keeps the card cycling without intervention. For a camera you check every few months, understanding this behavior prevents you from arriving to find the card full of November images while December activity was never recorded.

4. AI Features: What Works, What Doesn’t, and How to Use Them
What current AI actually does well
Species identification is the most immediately useful AI feature for hunters. Mature systems correctly identify deer, hogs, turkeys, coyotes, humans, and vehicles at 80-95% accuracy in favorable conditions – clear animal in frame, adequate light, unobstructed view. Human and vehicle detection works very well and is genuinely useful for security and trespass monitoring. False trigger filtering – catching wind-blown vegetation and rain – dramatically reduces image volume on cameras in brushy locations.
The practical workflow benefit: instead of scrolling through 600 images from a week of camera time, you review thirty flagged detections and browse the rest in a quick batch. That time savings compounds over a season.
Where AI fails
Young animals cause frequent misclassification – fawns get tagged as non-targets, piglets get called adult deer. Partial frames where only hooves, a tail, or an antler tine appears at the edge of the image produce unreliable classifications. Heavy brush overlapping an animal, strong backlight from sunrise or sunset, and unusual animal behavior like a buck working a scrape at nose-to-ground height all reduce accuracy meaningfully. Expect 50-75% accuracy in these edge cases rather than 80-95%.
The important practical implication: AI tags are useful filters, not definitive classifications. Treat them as a first sort, not a final verdict. Any camera running AI filters should have its discarded images spot-checked periodically to confirm the system isn’t throwing away detections you’d want to see.
Using AI features effectively
Set up rule-based push alerts for the detections that matter most – immediate notification for human intrusions, nightly summary for buck activity, weekly digest for everything else. This keeps your phone from buzzing constantly while ensuring you see what’s actually important in real time.

During pre-season setup, run the camera in full-upload mode for 48-72 hours to audit how the AI performs on your specific site. Adjust sensitivity settings based on what you find – if the AI is missing deer because of a brush line at the edge of the frame, adjust camera angle before the season starts rather than after.
5. Placement, Setup, and Maintenance
Where to put cameras
Think in funnels. Narrow lanes between bedding and food sources, trail intersections, water sources, and rub lines during the rut concentrate animal activity into predictable paths. Early season, food plots and water sources generate the most consistent daytime activity. As the rut approaches, rub lines and scrapes along travel corridors produce the highest-value detections. The camera that covers a well-used scrape on a primary rut travel route during the first week of November is worth more than five cameras covering marginal ground.
Mounting height and angle
For deer, mount at 24-36 inches – roughly chest height on a mature whitetail – aimed slightly downward at 10-15 degrees. This keeps the sky out of the background (which causes backlighting and false AI tags), positions the animal’s face and antlers in the center of frame, and reduces the chance of the camera detecting and photographing passing humans at road distance. For hogs and turkey, go lower at 12-18 inches. Articulating mounts that let you adjust angle without unmounting the camera save significant time during placement refinement.
Reducing false triggers
Clear two to three feet of vegetation from in front of the lens before mounting – grass and small branches that move in wind are the primary source of false triggers on cameras set to high sensitivity. Avoid pointing the camera directly east or west – sunrise and sunset backlighting causes consistent false triggers and degrades AI classification accuracy. In heavy cover, lower PIR sensitivity and extend the time delay between triggers. In a clean travel lane, raise sensitivity and tighten the delay to capture every animal passing through.
Battery management through the season
Match your power strategy to the season. Early season in warm weather – rechargeable lithium packs are convenient and cost-effective. Late season in cold conditions – lithium AAs maintain capacity in ways rechargeable packs and alkalines don’t. During the rut when you want maximum upload frequency and burst mode active, expect batteries to drain significantly faster and plan your check schedule accordingly. Solar plus a large battery pack is the right solution for cameras that need to run for months without attention.

6. Top Recommendations by Hunting Scenario
The right camera depends more on how you hunt than on any single spec. Here’s how to match hardware to strategy.
Best overall for serious hunters – Spypoint Flex-S
Spypoint’s current cellular line represents the best balance of AI features, upload reliability, and practical battery management for hunters running multiple cameras on managed property. Fast uploads, solid AI filtering that meaningfully reduces photo review time, and an app that’s genuinely useful rather than just functional. The monthly plan costs are reasonable and the eSIM setup is straightforward. For small-lease or private-land hunters who monitor five or more cameras and want real-time alerts during the rut, this is the default recommendation.
Best budget option – Moultrie Mobile Edge
At a lower price point with a modest monthly plan, the Moultrie Mobile Edge handles basic cellular delivery of day and night images reliably. AI features are basic compared to premium options, upload speeds are slower, and battery life is shorter. For a public land hunter who wants occasional remote checks without significant monthly commitment, or for someone starting with cellular cameras before investing in a full system, this is honest value.
Best for remote long-term deployment – Reconyx HyperFire 2
Reconyx builds cameras for wildlife researchers and land managers who deploy them for months at a time in conditions that would destroy consumer hardware. The HyperFire 2’s power management is in a different class from consumer cameras – optimized sleep modes, efficient trigger circuits, and robust cold-weather performance. For elk hunters in the Rockies who hang cameras in July and check them in October, or for land managers running year-round population monitoring, Reconyx cameras justify their higher price through reliability and longevity that consumer cameras don’t match.
Best fast-trigger for trophy monitoring – Browning Strike Force Pro DCL
Sub-0.2 second trigger speed, high-megapixel burst mode, and reliable cellular delivery make the Strike Force Pro the right tool for cameras covering tight lanes on mature buck travel routes. The photo quality at close range in burst mode is detailed enough for serious antler assessment. Battery life takes a hit when burst mode and cellular uploads are both active at high frequency – plan accordingly for rut-period deployment.
Best AI species ID for high-traffic locations – Stealth Cam Fusion Pro
On a camera covering a high-traffic food plot or water source that might take 50-100 triggers per day, AI filtering that actually works is worth paying for. The Fusion Pro’s species and sex classification reduces a hundred daily images to ten worth reviewing. Accuracy drops in cluttered or challenging scenes as with any current AI system, but for a clean field edge with good light and clear animal approaches it performs well and saves meaningful time.
Best 5G option for real-time scouting – Bushnell Core S-4K
For hunters in areas with expanding 5G coverage who want the fastest possible image delivery – particularly useful during active in-season scouting where a buck photographed an hour ago may still be in the area – the Core S-4K takes advantage of available 5G bandwidth for near-instant full-resolution delivery. Worth the hardware premium only if you have confirmed 5G signal where you hunt. On LTE it performs like any other quality cellular camera at a premium price.
Quick Comparison by Use Case
| Camera | Best for | Key strength | Main tradeoff |
|---|---|---|---|
| Spypoint Flex-S | Multi-camera private land | AI filtering, reliable app, fast uploads | Monthly plan cost adds up across many cameras |
| Moultrie Mobile Edge | Budget / occasional use | Low entry cost, simple setup | Basic AI, slower uploads, shorter battery life |
| Reconyx HyperFire 2 | Remote long-term deployment | Battery life, cold weather, reliability | Higher price, fewer live upload features |
| Browning Strike Force Pro DCL | Trophy monitoring, tight lanes | Sub-0.2s trigger, burst mode, image detail | Faster battery drain at high frequency |
| Stealth Cam Fusion Pro | High-traffic locations | AI species/sex ID, volume management | AI accuracy drops in challenging scenes |
| Bushnell Core S-4K | Real-time in-season scouting | 5G speed where available, image quality | Only worth it with confirmed 5G coverage |
Frequently Asked Questions
How much does it cost per month to run a cellular trail camera?
Monthly costs vary from around $5 on the most basic plans to $15-20 for higher image volume or video-enabled plans. Most hunters running a single camera on a standard hunting property spend $8-12 per month. That cost scales with image volume – a camera on an active scrape during the rut that triggers fifty times per day will consume more data than a food plot camera that triggers ten times per day. Many manufacturers offer discounted annual plans that reduce the effective monthly cost by 20-30% for hunters who commit for a full year. Factor the monthly plan cost into your total budget – a $150 camera running a $15/month plan costs more over three years than a $250 camera on an $8/month plan.
Do I need 5G or is 4G LTE good enough for most hunting situations?
4G LTE is good enough for the vast majority of hunting applications. It delivers thumbnails in seconds and full images within a minute or two, which is all most hunters need from a camera they’re checking between hunts rather than in real time. 5G makes a meaningful difference only in specific scenarios: real-time in-season scouting where you want to know about activity that happened in the last few minutes, high-resolution video uploads where the bandwidth difference is actually visible in delivery speed, and future-proofing in areas where 5G rural coverage is actively expanding. If you don’t have confirmed 5G signal where you hunt, buying a 5G camera to use on 4G gives you no practical benefit and costs more upfront and monthly.
How accurate is AI species identification and can I trust it to filter my images?
In favorable conditions – clear animal in frame, adequate light, unobstructed view – current AI systems from leading manufacturers identify common species at 80-95% accuracy. That’s useful enough to dramatically reduce photo review time. Where accuracy drops is on partial frames, young animals, unusual animal behavior, heavy brush overlap, and strong backlight. The practical recommendation is to use AI filters as a first sort, not a final verdict. Set your push alerts for the categories that matter most, browse AI-classified images in batches rather than individually, and periodically spot-check a sample of discarded images to confirm the system isn’t filtering out things you’d want to see. Treat AI as a capable assistant, not an infallible judge.
How long do batteries last in a cellular trail camera?
Battery life varies enormously depending on trigger frequency, upload settings, temperature, and battery type. Under typical conditions – 20 triggers per day, standard resolution uploads, moderate temperatures – quality current cameras run 2-4 months on fresh alkaline AAs and 3-6 months on lithium AAs. In cold weather (below 20°F), alkaline batteries lose capacity rapidly and lithium becomes essential – expect 30-50% longer life from lithium in freezing conditions. High upload frequency, burst mode, and 5G connectivity all drain batteries faster. For remote cameras that need to run for months between visits, a solar panel plus a large external battery pack is the practical solution – a 5W panel and 20,000mAh battery can sustain most cameras indefinitely in locations with reasonable daily sun.
Will deer detect and avoid cellular trail cameras?
Whether deer detect cameras and change their behavior depends on the illumination type, camera placement, and how much human scent is left during setup and checking. No-glow IR illuminators are invisible to deer and significantly reduce the chance of a spooky animal associating the camera location with human presence. Low-glow IR emits a faint red flash that deer may notice at close range – most don’t react, but wary mature bucks occasionally do. The bigger variable is human scent from setup and card pulls – this is the primary reason cellular cameras improve mature buck capture rates on pressured properties. When you stop visiting the camera, you stop leaving your scent there. Wear gloves during setup, approach from downwind when possible, and use rubber boots or rubber-soled footwear to minimize scent deposit around the camera location.
What should I do if my camera has poor cellular signal at my hunting location?
Start by testing multiple carrier signals at the exact location – a spot that’s one bar on AT&T might be three bars on Verizon or vice versa, depending on tower placement. Check at the actual mounting height rather than at ground level, since signal can vary significantly with a few feet of elevation. If signal is marginal with the best available carrier, many quality cellular cameras include an external SMA antenna port – a 5-9 dBi directional antenna aimed toward the nearest tower can add enough gain to make an unreliable connection reliable. Position the antenna high or on a separate mast and route the coax carefully without sharp bends. For truly remote locations beyond any cellular coverage, satellite-connected trail cameras like the SPYPOINT FLEX-E36 or Moultrie Mobile Edge with satellite add-on represent an expensive but effective solution for hunters who absolutely need remote delivery from deep backcountry.


Comments are closed.