MagnetoSpeed Chronographs: Barrel-Mounted Accuracy for Every Shooter

Precision at the Muzzle: Why Barrel-Mounted Chronographs Matter

We introduce barrel‑mounted chronographs and explain why measuring muzzle velocity at the source changes how we approach accuracy and load development. By capturing velocity right at the muzzle, MagnetoSpeed systems remove many variables that plague optical setups. That clarity helps us see real differences between bullets, powders, and seating depths faster and with more confidence.

We’ll demystify how MagnetoSpeed technology works, compare it to traditional optical chronographs, and show practical setups for hunting, competition, or range testing. Our goal is to give every shooter—casual plinker to precision marksman—a clear path to reliable, actionable data. Read on and adopt a hands‑on, experimental mindset so you can tune loads and improve consistency at the muzzle. We make complex data easy to use.

Must-Have
CMMG MkGs 9mm AR Barrel and BCG Kit
Sportsmansguide.com
CMMG MkGs 9mm AR Barrel and BCG Kit
Top Rated
Daisy High-Safety Shooting Glasses
Academy.com
Daisy High-Safety Shooting Glasses
Trending Now
BIGshot Ballistic 350 Target Bag
Sportsmansguide.com
BIGshot Ballistic 350 Target Bag
Hot Pick
Hornady Essential Die Maintenance Kit
Academy.com
Hornady Essential Die Maintenance Kit
May earn a commission at no cost to you – supporting this project.
1

How Barrel-Mounted Chronographs Work: The Basics of MagnetoSpeed Technology

The simple idea: magnetic disturbance → precise time stamps

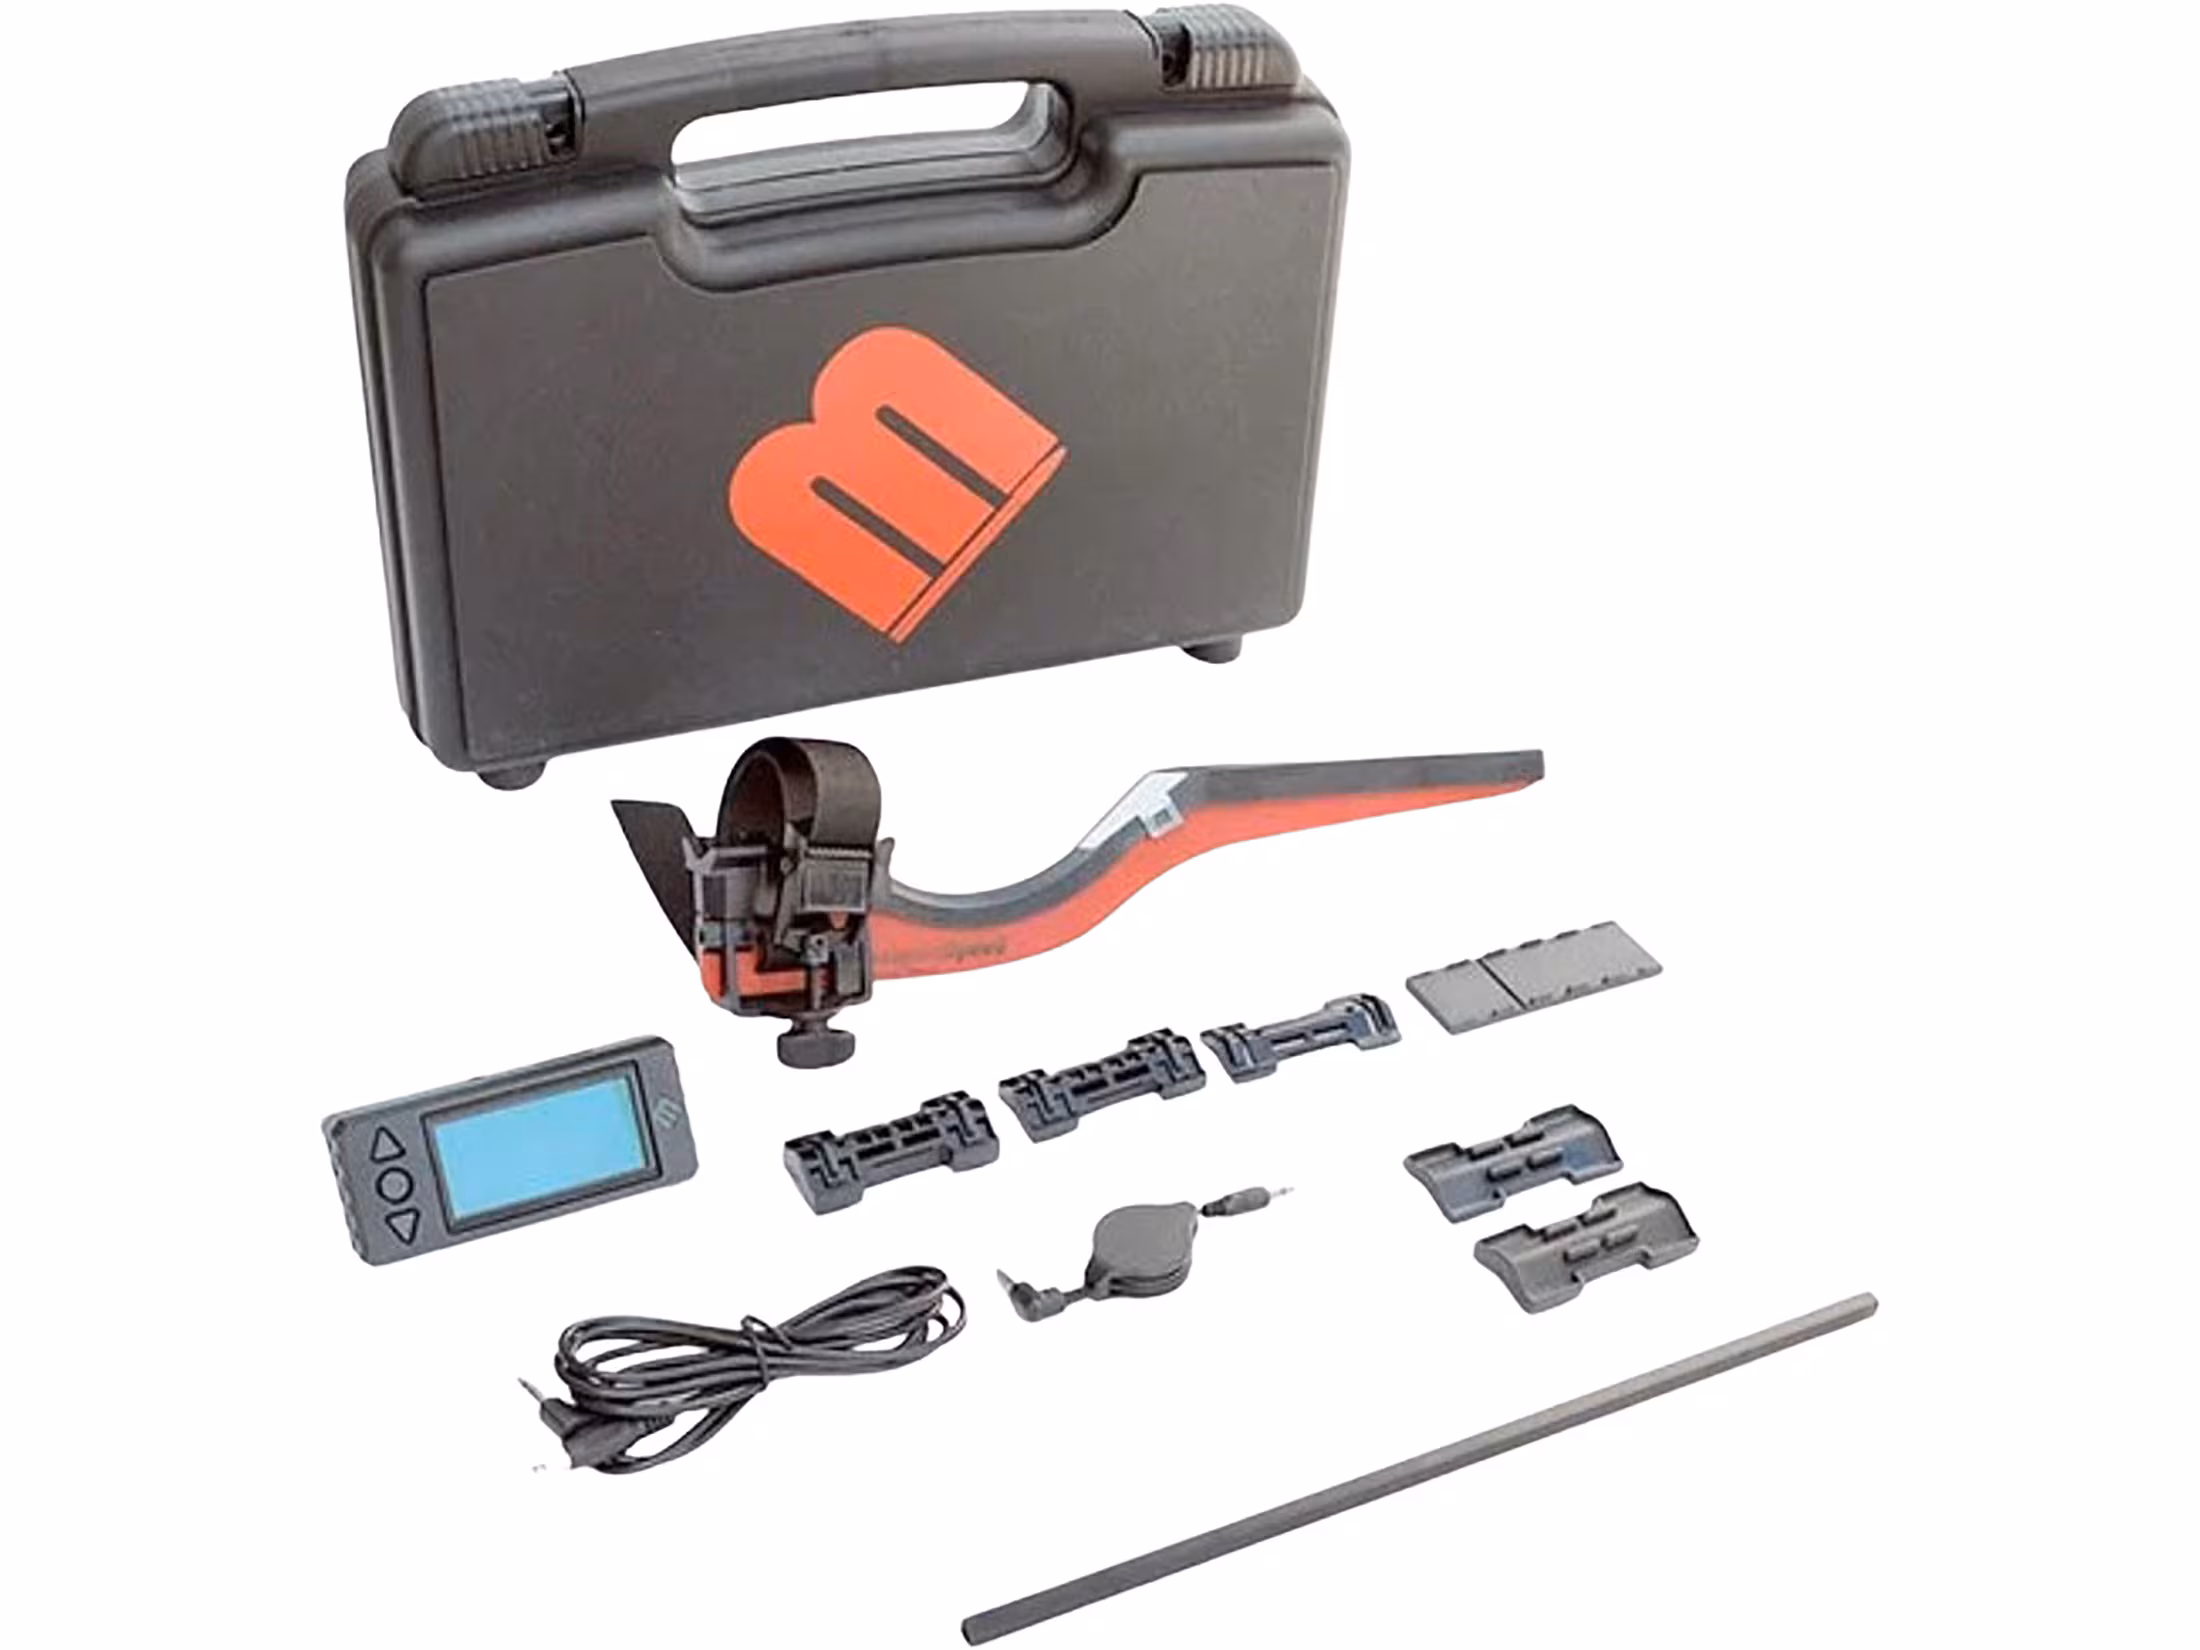
MagnetoSpeed chronographs sit on the barrel just forward of the action and listen, not look. A small sensor array detects the moment a bullet disturbs the local magnetic field as it leaves the muzzle. That disturbance creates a clear electrical pulse; two sensors spaced a known distance along the barrel register two pulses. We get two highly precise timestamps, and velocity is simply distance divided by time.

What’s happening inside (in plain language)

The sensors generate voltage changes when the bullet passes; those are short, sharp signals.
Onboard electronics filter noise (muzzle blast, echoes) and pick the true signal peaks.
The device timestamps each peak to microsecond precision, calculates velocity for each shot, and stores the result.

This approach is robust: because the sensors are mounted on the barrel, we’re measuring velocity at the muzzle — before wind, bullet drop, or optical misreads can distort the number.

How this compares to optical chronographs

Optical systems rely on two light gates farther downrange and can be fooled by lighting, shadows, or misaligned shots. We avoid those variables with barrel mounting. In practice, that means fewer spoiled string tests and faster, more actionable load development.

The kinds of data MagnetoSpeed gives us

Single-shot velocities
Velocity strings (many shots in a row)
Average (mean) velocity
Extreme Spread (ES)
Standard Deviation (SD)
Time-stamped shot records and, on some models (V3, Sporter), Bluetooth transfers to apps

What we can’t expect

Direct downrange velocity or instantaneous ballistic coefficient (you can estimate BC with additional range data, but not from a single muzzle-only reading).
Detailed ballistic spin or subtle yaw data — this is strictly a velocity/timing tool.
Perfect signals with unusual projectiles (very thin polymer tips or non-conductive sabots can give weaker pulses).

Popular models like the MagnetoSpeed V3 and Sporter illustrate these principles in compact packages. With the basics clear, we’re ready to look at the practical advantages — portability, reliability, and how muzzle-based numbers change the way we test loads.

2

Practical Advantages: Portability, Reliability, and Real-World Accuracy

Small footprint, big convenience

Because we mount the chronograph on the barrel, our range kit shrinks dramatically. Instead of hauling tripods, mats, multiple light screens, and a spare battery box, we toss a compact MagnetoSpeed (V3 or Sporter) into the rifle case. Mounting takes a minute; when we’re done we pop it back in the case and move on. That portability means quicker sessions, less setup stress, and the freedom to chronograph in tight backcountry or crowded club ranges where laying out optical skyscreens isn’t practical.

Hands-on robustness in real conditions

Barrel-mounted tech removes many environmental headaches that ruin optical skyscreens:

Immunity to ambient light changes, glare, and shadows.
No need for long, clear downrange lanes or windless conditions.
Far less sensitive to muzzle blast reflections or dust kicked up by repeated fire.

We’ve chronoed at dawn with low sun and at midday under a cloudless sky with equal reliability. For hunting prep, that means we can test loads at the stand or a short-range private property without chasing perfect lighting.

Reliable across rifles, barrels, and suppressors

Because the sensor measures at the muzzle it works consistently across:

Short and long barrels
Heavy-contour and thin-contour barrels (using the proper clamp)
Muzzle brakes and suppressors — we still get clean timestamps since the magnetic disturbance is immediate

If you’ve ever tried to chronograph a suppressed rifle with optics-based gear, you know blast and reflections can trash readings. With a barrel-mounted unit we’re getting the true muzzle velocity — the number our ballistic solvers actually need.

Practical wins: how real shooters use it

Here are the quickest, high-payoff ways we put muzzle accuracy to work:

Load development: run 5–10-shot strings, compare mean, ES, and SD to pick the most consistent node.
Hunting prep: verify that your chosen load stays supersonic to your maximum ethical distance and adjust zero or holdovers accordingly.
Match tuning: identify powder lots or seating depths that reduce SD from, say, double digits to single digits — fewer surprises on target.

Quick tips to get usable data now

Mount and record the barrel length and temperature with each string.
Run multiple 5-shot strings rather than one long string for cleaner statistics.
Use Bluetooth models (V3/Sporter with app) to log and tag shots for later analysis.

We find this combination of portability, environmental immunity, and muzzle-true readings turns velocity numbers into immediate, actionable decisions at the range and in the field.

Must-Have
CMMG MkGs 9mm AR Barrel and BCG Kit
High-quality AR-style barrel and BCG kit
This CMMG MkGs kit includes a 5″ barrel and bolt carrier group, perfect for AR enthusiasts seeking quality and precision in their builds.
May earn a commission at no cost to you – supporting this project.
3

Choosing the Right MagnetoSpeed Setup for Your Shooting Style

Key selection criteria

When we pick a MagnetoSpeed, we focus on a few practical factors that determine how useful it will be for our needs:

Compact vs. full-featured: The Sporter-style units are smaller and faster to stow for a hunt; the V3-style units offer richer displays and more built-in features for range work.

Barrel and muzzle compatibility: Check clamp fit and included spacers — heavy-contour, tapering, or threaded barrels may need different spacing. If we run a big brake or suppressor, confirm the sensor can be mounted where it won’t interfere.

Display and connectivity: Do we want a standalone remote display or Bluetooth-to-phone? Remote displays are faster to view on a cold morning; Bluetooth lets us log and tag shots for later analysis.

Data needs: Shot-string capture, timestamping, and SD/Bluetooth logging matter most for handload development and match tuning; casual velocity checks can get by with basic readouts.

Matching setups to shooting goals

Here’s how we typically match models to roles:

Handloading and lab-style testing: Choose a full-featured V3 with Bluetooth logging and a remote display. We want shot-string capture, easy tagging, and integration with ballistic apps for immediate analysis.

Precision rifle competition (PRS/NRL): Use a V3 or equivalent with robust logging and a clear remote display so our coach or spotter can read velocity at the line. Durable clamp and quick-remount capability are must-haves.

Hunting and backpacking: Pick the compact Sporter-style unit or a V3 configured without bulky accessories. We prioritize light weight, quick on/off, and simple Bluetooth logging to phone.

Casual plinking and fun range days: A basic Sporter or entry V3 without advanced logging keeps costs down while giving muzzle-true numbers.

Quick decision checklist

Ask ourselves these quick questions before buying:

Will we chronograph in the field (hunting/backcountry) or on the range?
Do we need per-shot logging and app integration, or just quick readouts?
What barrel profile and muzzle devices do we run?
Do we prefer a physical display we can read with gloves?
Top Rated
Daisy High-Safety Shooting Glasses
Meets ASTI Z87.1 safety standards
Protect your eyes while shooting with these stylish wraparound glasses that offer excellent visibility and side protection.
May earn a commission at no cost to you – supporting this project.

Answering those points gets us to an appropriate model without paying for unused features. In the next section, we’ll walk through step-by-step setup and best practices so our chosen unit performs reliably every session.

4

Setting Up and Using a Barrel-Mounted Chronograph: Step-by-Step Best Practices

We want setup to be fast, repeatable, and low-stress so we spend range time shooting, not fiddling. Below is the workflow we use with MagnetoSpeed V3 and Sporter units to get reliable readings every session.

Safe mounting procedures

Make safety our first step: clear the rifle, remove magazine, point in a safe direction while installing the clamp.
Fit the clamp around a straight, undamaged section of barrel — don’t install over fouling, loose tape, or soft coatings.
Tighten progressively and evenly until snug; the unit should not rotate or wobble. Use included spacers if needed for tapered or heavy-contour barrels.
Mount the sensor where the projectile passes closest to the sensor housing on a straight section of barrel; for many rifles that’s a few inches outboard of the action. If you use a brake or suppressor, place the sensor where it won’t contact the device or use the spacing accessories MagnetoSpeed supplies.
Aim for the projectile to pass roughly centered alongside the sensor—small lateral offsets can cause missed shots or weak triggers. Avoid ferrous attachments nearby that can upset the sensor.

Verifying function before live fire

Check batteries, firmware/app connection, and remote display power.
With the rifle pointed safely downrange, fire a single test round and confirm a clean, plausible velocity on the readout or app before committing to a full string. If the first shot is missing or wildly off, re-check clamp tightness and position.

Shot strings, cadence, and data capture

For meaningful statistics we record 5–10 shots per string. Ten shots gives a better standard deviation; five is quicker for basic checks.
Maintain consistent cadence (15–30 seconds between shots) and let the barrel cool between strings—temperature changes affect velocity.
Use the V3’s remote or Bluetooth logging to tag strings with load details and environmental notes; accurate metadata makes later analysis usable.

Quick troubleshooting checklist

False readings: re-seat the clamp; remove nearby magnetic objects; check firmware.
Missed shots: sensor misalignment or loose clamp—reposition and re-test.
User errors: phone permissions, app sleep mode, or depleted batteries are common culprits—verify before shooting.
Validation: if numbers look strange, duplicate the string or compare with a known reference (another chronograph or factory ammo).

We once chased a 50 fps outlier only to find the clamp had crept loose after the third shot—repeating the string immediately fixed it. With these steps we make setup predictable and spend our sessions improving loads and accuracy, not troubleshooting gear.

Trending Now
BIGshot Ballistic 350 Target Bag
Durable target for improved shooting practice
Enhance your shooting practice with the BIGshot Ballistic target bag, designed for durability and performance in various conditions.
May earn a commission at no cost to you – supporting this project.
5

Turning Velocity Data into Performance Gains: Interpreting and Applying Results

We’ve collected clean strings with a MagnetoSpeed — now what? This section turns raw numbers into decisions that tighten groups, sharpen trajectories, and make hunting loads reliable.

Key metrics and what they tell us

Average velocity: the baseline input for any ballistic solver (MagnetoSpeed V3 or Sporter will give this).
Extreme spread (ES): max minus min velocity in a string; large ES often points to inconsistent components, seating, or ignition.
Standard deviation (SD): measures shot-to-shot scatter; lower SD correlates strongly with tighter groups and predictable impact.

Good practical targets: SD <10 fps for hunting loads, <5 fps for match-grade loads. ES under ~40 fps is a useful ballpark—if it’s higher, start troubleshooting.

How metrics guide load development

If SD/ES improves when we change primer brand or brass lot, that’s a clear signal to standardize that component.
If moving seating depth .005″ reduces SD and shrinks groups, keep refining in smaller steps.
Powder charge tuning: try ±0.2–0.5 grain increments and watch SD trends rather than single-shot velocities.

Refining BC and feeding trajectory tools

We refine ballistic coefficient empirically by shooting at a known distance, recording impact vs predicted drop, then adjusting BC in our app (Applied Ballistics, Strelok, etc.) until prediction matches reality. Use the MagnetoSpeed average muzzle velocity and local atmospheric inputs for precise modeling. Record SD so apps can show spread envelopes.

Weather, elevation, and patterns

Always log temperature, pressure, humidity, and elevation (Kestrel or smartphone apps). Higher altitude and temperature reduce air density; the same muzzle velocity will produce a flatter trajectory. If we see velocity drift with shot number, plot velocity vs shot index — a steady rise usually indicates barrel heating; a sudden jump often signals a loose clamp or seating anomaly.

Simple experiments to run

10-shot strings at consistent cadence to establish true SD.
Ladder test: vary seating depth in .005″ steps to find a node of lower SD/group size.
Component swap test: change only one variable (primer, brass, powder lot) and compare SD/ES.

By approaching chronograph data methodically, we convert numbers into repeatable, performance-driven choices that improve accuracy on the next range trip.

Hot Pick
Hornady Essential Die Maintenance Kit
Maintain your reloading dies efficiently
The Hornady Die Maintenance Kit provides essential tools to keep your reloading dies in top condition, ensuring consistent performance in your reloading process.
May earn a commission at no cost to you – supporting this project.
6

Common Issues, Maintenance, and Advanced Tips for Consistent Performance

Batteries, firmware, and routine checks

We make a habit of a quick checklist before each range trip: batteries charged or fresh, firmware up to date, and fast visual check of mounts and cables. Follow the manufacturer’s update path (MagnetoSpeed’s support page) for firmware and back up any stored logs before updating. Remove batteries for long storage and keep a small pack of spares in the range bag.

Protecting the sensor from fouling and impact

Keep the sensor clean and mechanically protected—this extends service life more than anything else.

After a shooting string, wipe the sensor and clamp with a soft, dry cloth; use a small brush or compressed air for carbon build-up.
Use the protective cap or a foam sleeve during transport and when the rifle is in the field.
Carry spare clamp pads, screws, and any small O-rings; a dropped screw or worn pad is an easy way to ruin a session.

Muzzle devices, suppressors, and harmonics — mitigation strategies

Muzzle brakes and suppressors change local metal mass and harmonics, and can alter readings if the sensor is too close.

If practical, test with and without the device and compare SD/ES.
Try alternate mounting positions (move the sensor forward/back in small increments) and run short verification strings to find the most stable spot.
For suppressor users, follow the MagnetoSpeed recommended mount position; if readings remain inconsistent, consider a radar unit (LabRadar) for cross-checks.

Quick verification and troubleshooting runs

We always run a 3–5 shot verification string after mounting or any adjustments. A sudden jump or drift is usually mechanical—loose clamp, slipped pad, or barrel heating.

If readings drift steadily, suspect heat; slow cadence or allow cooling between groups.
If a single shot is wildly different, check for seating issues or a sensor contact flake.

Advanced workflows: data integration and redundancy

To get the most from our strings, we export CSVs to Google Sheets or load logs (Applied Ballistics, Excel). Tag each row with components, temp, and shot number to spot trends. For high-stakes validation, we cross-check with a second system (LabRadar or a second MagnetoSpeed) to confirm extreme-precision loads.

With these habits—simple maintenance, smart mounting, verification runs, and data workflows—we keep barrel-mounted chronographs accurate and dependable, setting us up for the article’s final thoughts.

Bringing Precision to Every Range Session

Measuring at the muzzle with a barrel‑mounted chronograph gives us practical, repeatable data that directly informs accuracy and smarter load choices. MagnetoSpeed setups are portable, reliable, and simple enough to use every range day; when we pair consistent measurement technique with careful record‑keeping, our ballistic decisions improve quickly.

We should experiment methodically, log velocities, SDs, and environmental notes, and apply findings to real shooting scenarios— from load development to zero confirmation. Let’s make every trip to the range an opportunity to learn, refine, and shoot better. Try it, record results, and keep improving today.