
How to Choose the Right Prism Scope – Understanding Fixed Magnification, Eye Relief & Etched Reticles

Published: January 2024 | Last updated: March 2026
Prism scopes occupy a specific and genuinely useful category between red dot sights and traditional LPVOs – and the market has matured significantly over the past two years. More options, better glass, and clearer category differentiation make the buying decision more straightforward than it used to be, provided you understand what each magnification level is actually designed for. This guide covers everything from how a prism scope works to which current models deserve your attention.
What a Prism Scope Is and Why It Matters
A prism scope uses a glass prism element inside the tube to bend and focus light onto an etched reticle. This is physically different from both a red dot sight (which projects an LED point onto a reflective lens) and a traditional riflescope (which uses a long series of adjustable lenses). The prism construction allows a more compact, rugged package than an equivalent variable magnification scope and enables one feature that neither of the alternatives provides: an etched reticle that remains visible without any battery power.

That etched reticle is the detail that defines prism scopes as a category. Because the aiming point is physically engraved into the glass rather than electronically projected, it functions as a black crosshair in daylight even with the illumination completely off. Red dots and holographic sights stop working when the battery dies. Prism scopes don’t. For shooters with astigmatism, this also matters – the projected LED point of a red dot distorts for many eyes into a comet tail or starburst, while an etched reticle doesn’t have this problem.
The tradeoff is fixed magnification. Most prism scopes are 1x, 3x, or 5x – single power, no zoom ring. You choose the magnification that fits your primary application and accept that you can’t change it in the field. For shooters whose use case is well-defined, this is often the right trade. For shooters who genuinely need flexibility across a wide range of distances, an LPVO is the more practical choice.
Choosing Magnification – The Decision That Determines Everything Else
Magnification selection is the most important single decision when buying a prism scope, and it’s one where matching to your actual use case is more important than any other specification.

1x is the close-quarters and home defense magnification. At 1x, a prism scope behaves similarly to a red dot with both-eyes-open acquisition and a wide field of view. The practical range is inside 100 yards where fast target transitions matter more than precision at distance. The etched reticle backup remains the advantage over a red dot; the fixed compact package is the advantage over an LPVO. If your engagements are consistently close-range and you want battery independence with a fast sight picture, 1x is correct.
3x is the versatile sweet spot for most AR-15 and general carbine use. It provides enough magnification for confident target identification and precise shot placement at 200-300 yards while remaining usable at close range – at 3x you can still engage targets at 30 yards competently, unlike a 5x or higher scope where the narrower field of view and reduced situational awareness start to cause problems at close distances. This is why the 3x category dominates practical prism scope use: it’s the option that handles the widest range of realistic applications without being limiting at either extreme.
5x extends the useful range to 400-500 yards and is the right choice for a dedicated rifle that primarily sees work at distance. Ranch shooting, calling predators across open country, patrol applications where longer identification distances matter – these are the 5x use cases. Be honest with yourself about whether you genuinely shoot at 400+ yards regularly before choosing 5x over 3x. The reduced close-range capability of a 5x in tight situations is a real limitation, not a theoretical one.
A practical note on 1x combined with a flip-to-side magnifier: several shooters use a 1x prism with a 3x magnifier flip unit for situations where they want both close-range speed and occasional reach. This adds cost, weight, and a mechanism to manage – whether it’s better than a fixed 3x depends on how often you genuinely need both extremes in the same outing.
Current Models Worth Knowing – Updated for 2025-2026
The prism scope market has expanded and improved significantly. Here are the models that represent the current best options by category:
1x – Close Range and Home Defense
The Holosun HS403C and Holosun AEMS occupy the 1x prism category with Holosun’s well-regarded illumination quality and shake-awake functionality. The AEMS specifically offers a larger window than most 1x prisms, which improves the close-range experience. The Vortex Spitfire 1x Prism remains available and continues to be a solid option with the Vortex VIP warranty backing it. Primary Arms’ SLx 1x MicroPrism at $259 is a strong value alternative with the ACSS reticle system that includes ranging and wind hold references within the 1x format.
3x – The Most Contested Category
The Vortex Spitfire HD Gen II 3x at $360-400 remains a benchmark recommendation in this category. The HD glass delivers noticeably better contrast and edge clarity than the original Spitfire, and the AR-BDC4 reticle is well-suited to 5.56 and .308 AR platforms. The Primary Arms SLx 3x MicroPrism at $319-330 competes directly with the Vortex at a lower price, with the ACSS Raptor reticle system that many shooters prefer for its integrated ranging and hold references. The Athlon Midas TSP3 at $270-300 is a budget-adjacent option that delivers competitive glass quality and has gained traction as a value-focused alternative. At the premium end, the Sig Sauer Bravo3 at $380-420 delivers excellent glass quality with a more robust housing – heavier than the Vortex but optically very capable.
New to the category worth noting: the Holosun HS510C with a magnifier combination has become a popular alternative approach to the dedicated 3x prism, and the Swampfox Trihawk 3x at $280-310 has developed a following for its unusually wide field of view at 3x magnification.
5x – Extended Range
The Vortex Spitfire HD Gen II 5x at $405-420 is the “mini-ACOG” comparison that comes up consistently in discussions of this category – it delivers meaningful reach at a price that doesn’t require the commitment of a Trijicon ACOG. The Primary Arms SLx 5x MicroPrism at $230-260 is the strongest value competitor with the ACSS reticle. The Trijicon ACOG TA31 4×32 remains the benchmark optical quality reference at $1,100-1,300 – not a realistic everyday purchase, but useful context for understanding what the value options are trading against. For shooters who find themselves between 3x and 5x, the newer Athlon Midas TSP4 3.9×30 occupies an interesting middle ground that covers both use cases reasonably well.

Astigmatism and Prism Scopes
This is worth addressing specifically because it’s one of the most common reasons shooters end up looking at prism scopes rather than red dots. Astigmatism causes the cornea to be slightly irregular, which means LED light sources project unevenly for many eyes – instead of a clean round dot, you see a smear, starburst, or comet tail. The etched reticle of a prism scope doesn’t have this problem because you’re looking through glass at a physical mark, not at an LED point source.
If you’ve been unable to find a red dot with a clean aiming point despite trying multiple brightness settings and multiple units, a prism scope is the correct solution rather than a more expensive red dot. The prism category specifically exists as a practical alternative for this reason, and it’s worth noting that many shooters who discover prism scopes through the astigmatism problem end up preferring them regardless because of the etched reticle’s reliability advantages.
Eye Relief and Eye Box
Prism scopes have shorter eye relief than traditional riflescopes – typically 2.5-3.5 inches – and a smaller eye box than red dots. This means your head position relative to the scope matters more than it does with a red dot’s forgiving large window. At 1x, this is barely noticeable. At 3x and 5x it becomes more significant, particularly when shooting from non-standard positions.

Mount height determines whether your head naturally finds the correct position. Most AR-15 platforms need either a lower-third co-witness or absolute co-witness height – the right choice depends on your stock geometry and whether you want your backup iron sights visible in the lower third of the optic’s view or aligned directly with the reticle. Get this wrong and you’ll be craning your neck on every shot, which defeats the speed advantage that a compact prism scope provides.
Practical setup: shoulder the rifle naturally with your eyes closed, then open them. Your dominant eye should be looking through the scope center without any head movement adjustment. If it’s not, adjust the mount position or height before zeroing rather than training yourself to compensate for a poor fit.
Etched Reticle Choices
All current quality prism scopes ship with etched reticles, but the reticle design varies significantly and matters for how useful the scope is at its intended magnification.

Simple duplex or crosshair reticles are fast and uncluttered – the right choice for shooters who want speed and don’t need holdover references. For most close-range applications at 1x, simple works well. BDC reticles calibrated for specific cartridges (the AR-BDC4 on Vortex Spitfire models is calibrated for .223/5.56 and .308) provide holdover marks for common hunting and defensive loads – useful if you’ll rely on them, redundant if you always range and dial. ACSS reticles from Primary Arms integrate ranging, wind holds, and moving target leads into a single design that’s more information-dense than most alternatives – preferred by practical competition shooters and those who actively use all the references. Grid/mil reticles are available on some 5x models and suit shooters doing structured range estimation and wind calls.
Match the reticle to your actual workflow. A clean duplex on a 3x scope used primarily for hunting is better than a dense competition reticle that adds visual clutter without adding value for your specific use.
Illumination
All current quality prism scopes include illuminated reticles, but illumination is a supplement to the etched reticle rather than the primary aiming system. In full daylight, the etched reticle is visible and functional without illumination. Illumination adds contrast against dark backgrounds – useful at dawn and dusk, in low-light hunting conditions, or against dark target backgrounds where a black etched reticle is harder to see quickly.

Red illumination cuts through haze better and is less disruptive to night-adapted vision. Green illumination is often easier to see against bright or neutral backgrounds in daylight. Most current scopes offer both. Multiple brightness levels including NV-compatible dim settings are useful for a broader range of applications; if you run night vision equipment, verify the scope’s lowest setting is genuinely NV-compatible rather than just “dim.”
Mounting and Zeroing
Prism scopes mount on standard Picatinny rails. For AR-15 platforms at 1x and 3x, a lower-third co-witness height (typically 1.93 inches absolute height) is the most commonly recommended starting point. Quick-detach mounts are worth the modest price premium if you ever need to remove the optic – a QD mount that returns to zero reliably is far more practical than a standard mount that requires re-zeroing every time it comes off.

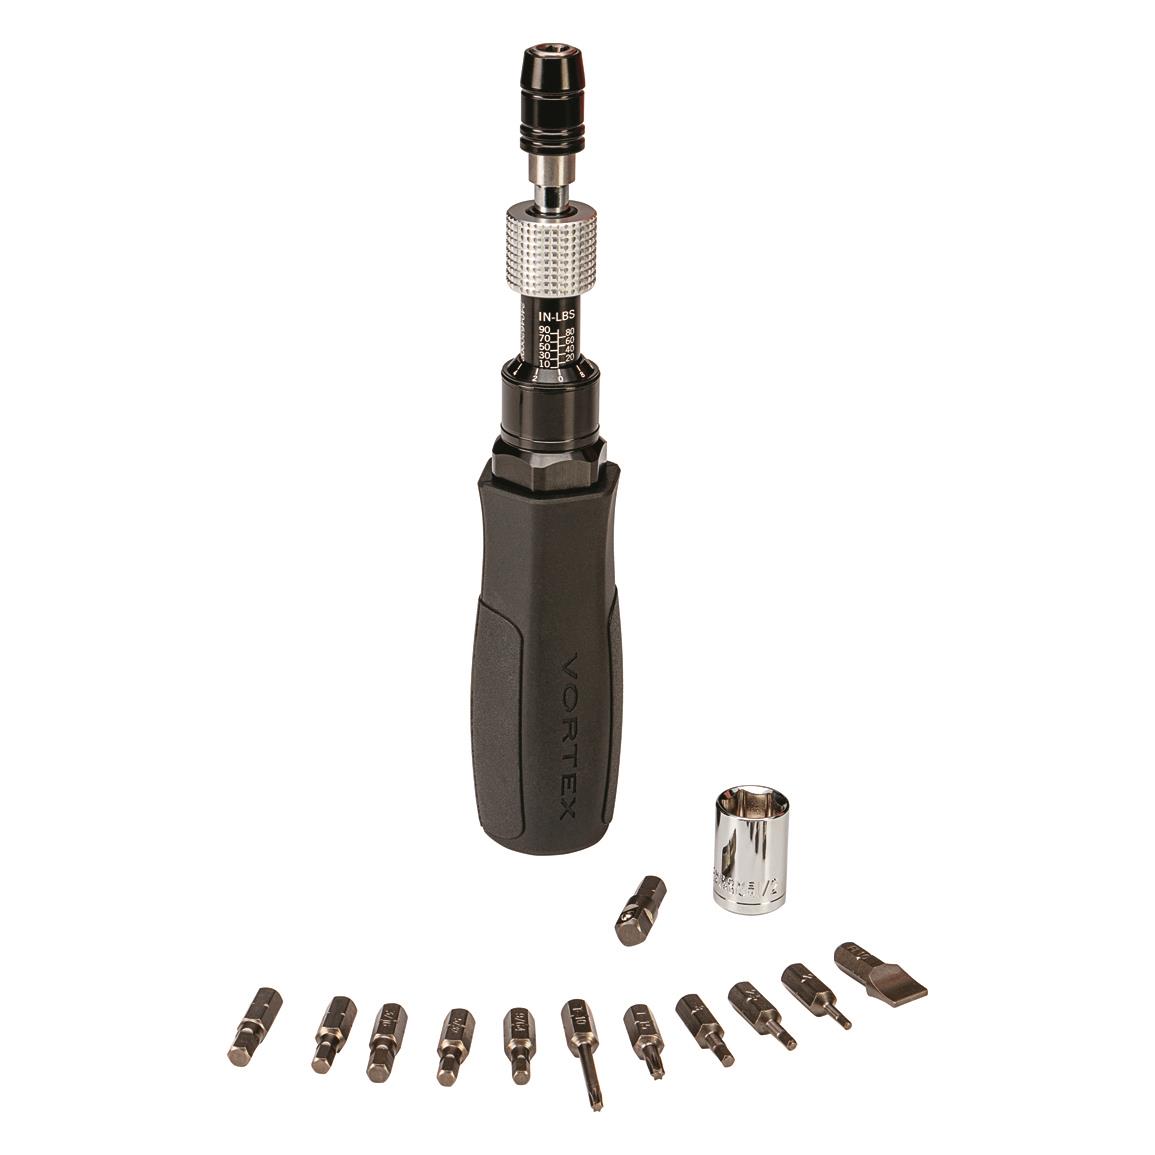
Torque fasteners to the manufacturer’s specification – typically 15-25 inch-pounds for scope rings and mount bases. A torque wrench appropriate for these small fasteners is a $20-30 investment that prevents both loose mounting and stripped screws from overtightening. Do not estimate torque by feel.
For zeroing: bore-sight first to get on paper, then live-fire verify at 25 yards before moving to your intended zero distance. Most 3x AR setups zero at 100 yards; 5x setups with BDC reticles are typically zeroed at 100 yards with BDC holds calibrated from there. Confirm the BDC marks with your specific load at actual distance rather than assuming factory calibration precisely matches your ammunition and velocity.
Budget Expectations – 2025-2026 Market
Entry-level functional prism scopes (Swampfox Trihawk, Athlon Midas TSP3) run $270-310 and deliver adequate glass for casual use. Mid-tier options (Primary Arms SLx, Vortex Spitfire HD Gen II) run $320-420 and represent the best value-to-performance ratio in the current market. Premium alternatives (Sig Bravo3, Trijicon ACOG) start at $400 for the Sig and $1,100+ for the ACOG – the ACOG’s price reflects fiber optic/tritium illumination and military-contract durability testing that civilian shooters rarely need to justify.
The upgrade advice: spend your money at the mid-tier. The gap between $280 and $380 in this category produces a noticeable difference in glass clarity, illumination quality, and housing refinement. The gap between $380 and $1,100 (ACOG territory) is mostly paying for a specific illumination system and brand heritage.
Current Model Comparison – 2025-2026
| Model | Magnification | Price range | Reticle | Best for |
|---|---|---|---|---|
| Primary Arms SLx 1x MicroPrism | 1x | $259 | ACSS | CQB, home defense, astigmatism |
| Vortex Spitfire 1x | 1x | ~$225 | DRT | Close range, VIP warranty |
| Swampfox Trihawk 3x | 3x | $280-$310 | BDC | Budget 3x, wide FOV |
| Athlon Midas TSP3 | 3x | $270-$300 | TSP3 | Value mid-range, solid glass |
| Primary Arms SLx 3x MicroPrism | 3x | $319-$330 | ACSS Raptor | ACSS fans, practical competition |
| Vortex Spitfire HD Gen II 3x | 3x | $360-$400 | AR-BDC4 | Best balanced 3x, HD glass |
| Sig Sauer Bravo3 | 3x | $380-$420 | Horseshoe | Premium glass, robust build |
| Athlon Midas TSP4 3.9x | 3.9x | $290-$320 | TSP4 | Between 3x and 5x reach |
| Primary Arms SLx 5x MicroPrism | 5x | $230-$260 | ACSS | Best 5x value |
| Vortex Spitfire HD Gen II 5x | 5x | $405-$420 | AR-BDC4 | Mini-ACOG alternative |
| Trijicon ACOG TA31 4×32 | 4x | $1,100-$1,300 | BDC | Benchmark optical quality |


Frequently Asked Questions
What is the main advantage of a prism scope over a red dot?
Two things: an etched reticle that stays visible without battery power, and a better experience for shooters with astigmatism. Red dots and holographic sights rely entirely on electronics – when the battery dies, the aiming point disappears. A prism scope’s etched reticle is physically engraved into the glass and appears as a black crosshair in daylight regardless of battery status. For shooters with astigmatism who see a red dot as a distorted smear rather than a clean point, the etched reticle eliminates this problem because you’re looking through glass at a physical mark rather than at an LED light source.
Should I choose 3x or 5x for a general-purpose AR-15?
For a true general-purpose AR-15 that handles varied applications – range work, occasional competition, potential defensive use – 3x is the right choice for most shooters. The 3x minimum remains usable at close distances where 5x starts to limit situational awareness and target acquisition speed. If your AR is a dedicated ranch rifle, predator gun, or any platform where shots regularly extend to 400+ yards and close-range work is secondary, 5x earns its place. Be honest about what you actually do rather than what you imagine you might do – most AR-15 shooters who buy 5x end up wishing they had the 3x’s close-range versatility.
How does the Vortex Spitfire HD Gen II 3x compare to the Primary Arms SLx 3x MicroPrism?
Both are strong choices in the $320-400 range and the comparison is genuinely close. The Vortex Spitfire HD Gen II has better glass clarity – the HD designation produces noticeable improvements in contrast and edge sharpness over the original Spitfire – and the Vortex VIP warranty is unconditional and transferable. The Primary Arms SLx MicroPrism costs $40-80 less and uses the ACSS Raptor reticle, which is more information-dense with integrated ranging marks, wind holds, and a moving target lead. The decision largely comes down to reticle preference: if you actively use holdover and ranging references during shooting, the ACSS system is genuinely useful. If you prefer a cleaner reticle without the extra information, the Vortex is better glass per dollar.
Will a prism scope work for a shooter with astigmatism?
Yes – prism scopes are specifically the recommended solution for shooters with astigmatism who find red dots unusable. The astigmatism problem with red dots is that the LED point source distorts through an irregular cornea, producing comet tails, starbursts, or smears instead of a clean dot. This is a vision optics issue, not a red dot defect. Prism scopes use etched reticles – physically engraved marks in glass – rather than projected LED points. When you look through a prism scope, you’re seeing a physical mark through glass optics, and this does not distort with astigmatism the same way an LED projection does. Most shooters who switch from red dots to prism scopes for this reason find the etched reticle noticeably cleaner and more usable.
Can I add a magnifier behind a 1x prism scope?
Yes, and this is a common setup among competition and tactical shooters who want both 1x close-range speed and the ability to engage at 200-300 yards with more precision. A 3x flip-to-side magnifier behind a 1x prism gives you a two-mode system: 1x for close work and 3x when you need reach. The practical considerations: the combined cost is typically more than a fixed 3x prism scope, the package is heavier, and there’s a mechanical element to manage under pressure. Whether the flexibility justifies these trade-offs depends on how often you genuinely need both modes. For a competition shooter doing stages that mix 10-yard and 200-yard targets, the flexibility is valuable. For a hunter or defensive shooter whose engagements are more predictable, a fixed 3x is typically the cleaner solution.
Is the Trijicon ACOG worth the price compared to modern alternatives?
The ACOG’s price reflects specific things that most civilian shooters don’t need to pay for: fiber optic and tritium illumination that requires no batteries whatsoever, construction tested to military standards that exceed what any civilian application demands, and a proven track record from decades of combat use. The glass quality is genuinely excellent. For professional and duty use where absolute reliability under extreme conditions is the requirement, the ACOG’s premium is justifiable. For civilian hunters, competition shooters, and recreational AR owners, the Vortex Spitfire HD Gen II 5x or Primary Arms SLx 5x deliver practical field performance at one-third to one-fifth the cost. The ACOG remains the optical benchmark for 4-5x prism scopes – knowing what it delivers helps calibrate what the value alternatives are trading against, but for most buyers, the premium isn’t justified by the marginal performance advantage it provides in civilian use.
Editorial note: This article was originally published in January 2024 and substantially revised in March 2026. The update refreshed the model lineup to reflect current 2025-2026 availability, added dedicated coverage of astigmatism and prism scopes, expanded the comparison table to eleven models, and added the 1x-plus-magnifier vs fixed-3x discussion.


Comments are closed.