
Why Every Shooter Needs the BOG Tripod


The difference between a hunter who uses a tripod and one who doesn’t isn’t technique. It’s how many hours they can glass before their eyes give out.
What a Tripod Actually Gives You
Most hunters who resist carrying a tripod have the same argument: it’s extra weight, it slows you down, and you can make do with a pack, a tree, or shooting sticks. All of that is technically true and practically incomplete. The question isn’t whether you can function without a tripod. It’s what you’re leaving on the table by not using one.
The answer is hours. A tripod extends how long you can glass before eye strain accumulates into fatigue that degrades your ability to see clearly. Handheld binocular use creates constant micro-movement that your eye has to continuously correct for – after an hour of that, you’re missing details that would be obvious to a fresh eye behind a stable mount. Shooting sticks and packs improve on handheld but still leave movement in the picture. A locked tripod head eliminates it, and the difference in how long you can hunt productively is real and significant.

For shooting, the argument is simpler. Three legs create a platform that resists movement in all directions simultaneously – a bipod nods front to back, shooting sticks sway side to side, but a stable tripod with legs properly spread doesn’t do either reliably. At 300 yards on an animal that’s only going to give you one moment, having a platform that stays still after you settle into position is worth its weight in better outcomes.
For the detailed head-to-head review of the BOG DeathGrip specifically, including material comparison and recoil testing results, see the BOG Tripod Review on this site. This article is about how to use a tripod well – which scenarios it transforms, and the practical habits that make the difference between a tripod that sits in the truck and one that changes how you hunt.
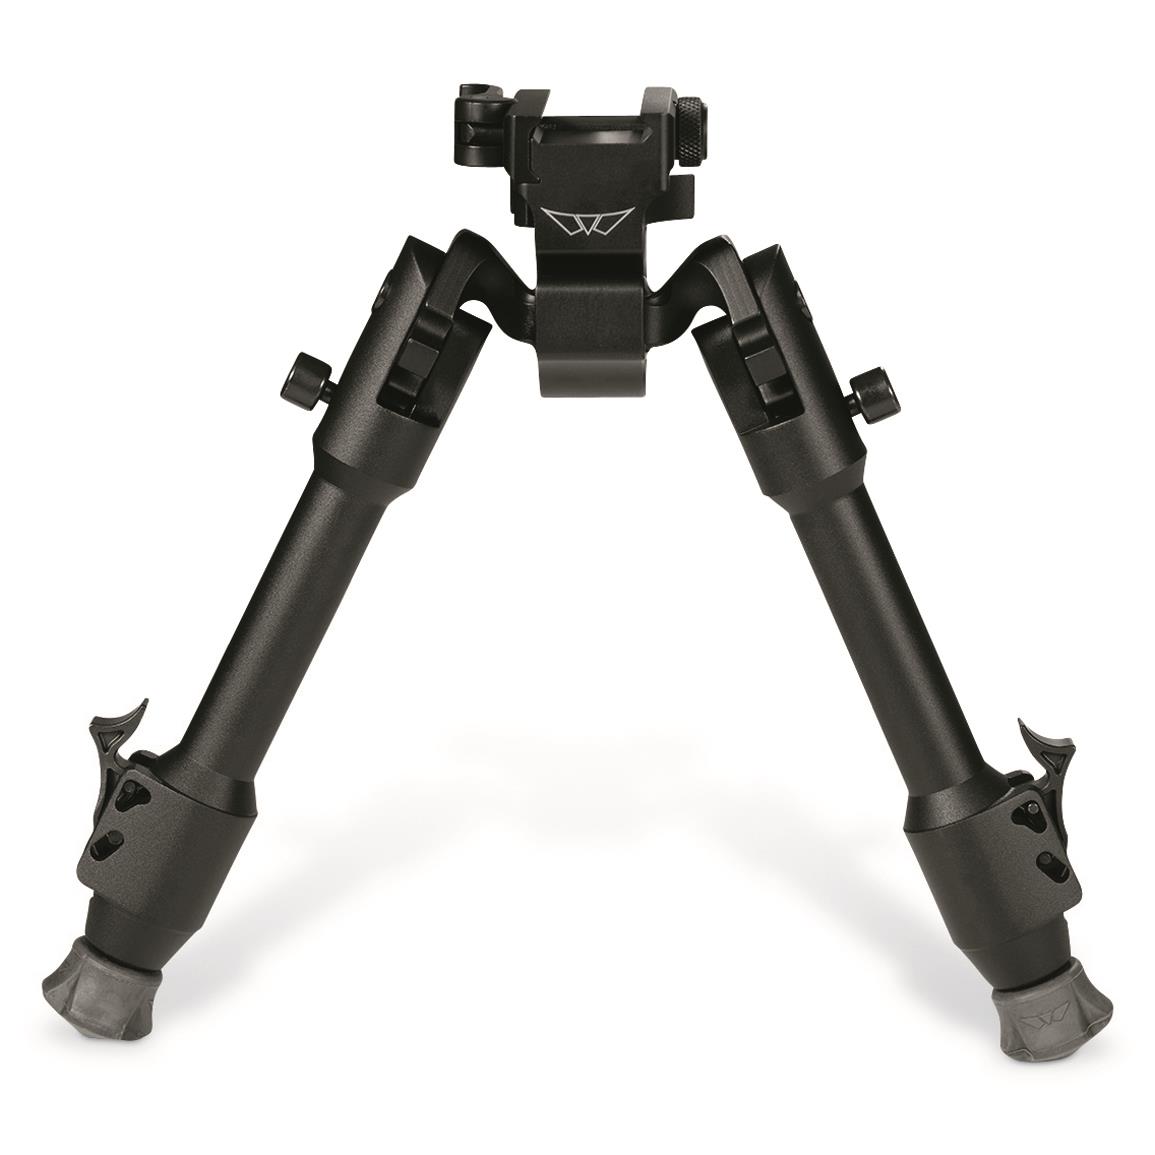
Stability Geometry: Why Three Legs Win
A tripod is more stable than a bipod or sticks for a geometric reason that’s worth understanding because it affects how you set one up. Three non-collinear points define a plane – there’s no wobble, no rocking, no searching for balance. Two legs need your body as the third point of contact. One leg needs your hand and your body. Three independent legs define their own stable plane regardless of what your body does, which means the rifle or scope on top of them isn’t connected to your heartbeat, your breath, or your muscle fatigue.
This matters most in two situations: long holds and gusty wind. On a long hold – waiting for an animal to clear cover, waiting for a bull to lift his head from behind a log – a bipod requires you to maintain constant pressure and position to stay stable. A tripod holds without you. You can let your body relax slightly, breathe normally, and take the shot when the window opens rather than when your muscles give out. In wind, a wide-stance tripod distributes lateral force across three legs rather than two or one, which means less total movement in the image and a steadier return to point of aim between gusts.
The setup decisions that maximize this geometric advantage: legs spread wide rather than clustered, height kept to the minimum comfortable for your shooting position rather than extended to maximum, and the center of gravity kept low by not using the center column extension when you don’t need it. Every inch of unnecessary height makes the platform less stable. Use what you need and no more.
Field Applications: Where the Tripod Earns Its Carry
Ridge Glassing
This is the tripod’s strongest argument for western hunters. When you’re on a ridgeline looking into a basin, glassing sessions can run two to four hours at magnifications where handheld use becomes impossible. A spotting scope on a tripod at 20-30x with a locked head lets you systematically work the entire basin section by section without the scope drifting off target. You note the position of an animal, pan to check the surrounding terrain, and return to the animal’s exact location – something that requires a stable mount to do reliably.
Wind is almost always present on exposed ridgelines. The practical response: lower the tripod to the minimum comfortable height, spread the legs to a wider angle than you’d use in calm conditions, and hang your pack from the center column hook if wind is significant. That hanging weight drops the center of gravity and reduces the micro-movement that shows up in the image at high magnification as shimmer. It costs nothing extra and makes a visible difference at 25x in a 15 mph wind.
Spot-and-Stalk Shooting Positions
The tripod’s value in a spot-and-stalk scenario is different from a glassing setup. You’re moving, you’ve identified an animal, and you need to get into a shooting position from whatever terrain the stalk leaves you in. A tripod that deploys in under thirty seconds to a known height and holds a stable platform from a seated or kneeling position bridges the gap between “I see the animal” and “I have a viable shot.”
The habit that makes this work is presetting leg lengths for your two or three most common shooting positions before you start moving. Seated, kneeling, and standing-with-bracing are different heights. If you’ve pre-set the legs for seated and can snap to that height in one motion without adjusting each leg individually, the deployment time drops from forty seconds to fifteen. Practice this at home until it’s automatic rather than figuring it out on a hillside with an animal in view.
A quick-release plate permanently mounted to your rifle’s stock eliminates another time-consuming step. Walking up to the tripod and clamping the rifle takes two seconds. Mounting without a plate on the rifle takes twenty. The plate costs almost nothing and stays on the rifle without affecting shooting or carrying.
Stand and Blind Hunting
The tripod’s use in a treestand or ground blind is less obvious but real. For a ground blind hunter glassing out the windows, a spotting scope on a low tripod inside the blind keeps the scope stable and lets you watch an approach without holding the glass. For a treestand hunter with a rifle, a compact tripod with legs collapsed to their minimum gives you a front rest that holds the rifle on target during a long wait without requiring you to maintain muscle tension for hours.
The specific value here is fatigue reduction on long sits. If you’ve ever held a rifle at ready for three hours waiting for a shot that might come any moment, you know that muscle fatigue affects shooting performance. A rest that holds the rifle at your preferred position without constant muscular effort keeps you fresher and steadier when the moment arrives.
Long-Range Shooting Support
At 300 yards and beyond, the margin for error in shot placement decreases as the target does. A platform that returns to point of aim consistently between shots and holds steady during the shot sequence – rather than one that requires you to re-establish position after each round – matters measurably. The tripod doesn’t make a 400-yard shot routine. It removes one variable from an already demanding equation, which is exactly the right kind of help for shots at the edge of your capability.
Deployment Habits That Make the Difference
A tripod that’s awkward to use quickly becomes a tripod that stays in the truck. The difference between a piece of gear you always have with you and one you frequently leave behind is almost always about the friction in the deployment process, not the weight.
The three habits that reduce deployment friction most effectively: pre-setting leg heights for common positions (so you’re not adjusting all three legs from scratch every time), keeping a quick-release plate on your primary optic and rifle at all times (so mounting takes seconds), and practicing the full deploy sequence at home until it’s muscle memory rather than a decision process.
On terrain: slopes are where most hunters struggle with tripod setup. The technique that works is to shorten the uphill leg first – not all three legs – until the head is level. Then adjust the downhill legs to match. This is faster than trying to level three legs simultaneously and produces a stable result on most angled terrain. Spike feet on the uphill side prevent creep while you’re making fine adjustments.
For silent deployment in close-range situations: practice handling the tripod without metal-on-metal contact sounds. The leg locks, the head friction knob, and the quick-release plate clamp can all be operated quietly with slow, deliberate movement. In a ground blind or timber situation where sound carries, noisy equipment is a liability. Know which parts of your tripod make noise and develop the handling habits that avoid those contacts.
Carrying Without Killing Your Hunt
The weight argument against tripods is real but often overstated. A quality hunting tripod in the 2 to 3 lb range adds meaningful weight to a pack, but it’s weight that earns its keep in proportion to how much glassing and distance shooting your hunting involves. A whitetail hunter sitting a treestand over a food plot at 80 yards probably doesn’t need a tripod on every hunt. A western elk hunter who spends two days glassing before going mobile almost certainly does.
How you carry it matters more than the ounce count. External carry in a compression-strapped sleeve on the side of the pack gives fast deployment without re-packing. Center-mounted carry on the back’s spine keeps the weight centered and reduces shoulder torque on long approaches. The worst option is carrying it loose across the top of the pack where it swings and creates leverage against your back.
For hunts where the tripod’s glassing value is high but you need to go light for the final approach, leave it at your glassing position and move in without it. This requires terrain where returning to retrieve it is realistic, but it’s a common solution on western elk and deer hunts where you’re glassing from a fixed point before working toward an animal.
Maintenance That Actually Matters
Tripod maintenance is not complicated but it’s specific. The failure modes that end a tripod’s useful life are almost all preventable: grit in the leg locks that grinds the mechanism over time, corrosion on threaded foot connections from mud and moisture, and frozen flip locks from water infiltration in cold conditions.
After any outing involving mud or water: rinse with clean water before collapsing the legs. Collapsed grit grinds against mechanism surfaces every time the legs move. After drying: apply silicone spray to pivot points and seals, not petroleum oil, which stiffens in cold and attracts additional grit. Before long trips: replace any worn rubber foot pads, check all visible fasteners for tightness, and carry a small hex key set and spare foot set in the pack.
The five minutes of attention after each outing extends the functional life of a tripod meaningfully. The gear that fails on a hunt is almost always the gear that was put away wet or dirty and never looked at until the next season.
Frequently Asked Questions
Is a tripod worth carrying for hunting inside 200 yards?

For shooting support inside 200 yards, probably not – a bipod, shooting sticks, or a natural rest is faster and lighter for the shooting application. Where a tripod earns its weight inside 200 yards is glassing. If your hunt involves significant time behind binoculars or a spotting scope looking for animals before you move, a stable mount extends how long you can glass productively before eye strain accumulates into missed details. The shooting benefit inside 200 yards is modest. The glassing benefit at any distance is significant for hunters who glass seriously.
How do I set up a tripod quickly on a slope when an animal appears?
Shorten the uphill leg first until the head reads level, then adjust the remaining legs as needed. This is faster than trying to level all three simultaneously. Use spike feet on the uphill side to prevent creep while adjusting. For a very quick setup where precision leveling isn’t practical, get the head close to level and compensate with the rifle’s body position rather than fussing with legs. Speed matters more than perfection when an animal is in view. Practice this at home on sloped terrain until the sequence is automatic – the stairway, a hillside in the yard, anything angled works as a practice surface.
Can a tripod replace a bipod for rifle shooting?
For prone shooting where you need a very low profile and fast setup from already-prone positions, a bipod is faster and more practical. For shooting from seated, kneeling, or standing positions where a bipod’s ground contact isn’t available, a tripod is significantly better. The two tools are complementary rather than competing. Many hunters carry a bipod on the rifle for prone work and a tripod in the pack for glassing and shooting from non-prone positions. If you’re choosing only one, the tripod is more versatile across position types. If you primarily shoot prone from a low position, the bipod is faster for that specific scenario.
What’s the most important tripod feature for hunting use?
Leg lock reliability with gloves on. This is the specification that separates hunting-grade tripods from photography tripods that look similar. Twist locks require bare hands and dexterity to operate reliably. Flip or cam locks can be operated with heavy gloves in cold temperatures. In the scenarios where you need a tripod most – cold mornings, wind exposure, early season before your hands have fully adapted to the cold – being able to set up and adjust with gloves on is the difference between using the tripod and fighting it. Everything else being equal, always prefer a glove-compatible locking mechanism.
How do I add stability when wind is pushing the tripod image around?
Three steps in order of effectiveness. First, lower the tripod height – every inch of reduced height meaningfully improves stability in wind. Use the minimum height that’s comfortable rather than extending to maximum. Second, hang weight from the center column hook – your pack, a sandbag, or any heavy item dropped to a short cord from the center column drops the center of gravity and adds mass to dampen vibration. Third, orient the tripod so one leg faces directly into the wind – this positions the apex of the tripod’s triangular footprint windward, which is more stable than having a leg gap facing the wind. All three steps together make a significant difference in moderate wind.


Comments are closed.