
How to Mount and Zero a Prism Scope – Step-by-Step Setup Guide for AR-15 and Bolt-Action Rifles


Most zero problems aren’t ammunition problems. They’re mounting problems that haven’t been found yet.
Before You Touch the Hardware
Mounting a prism scope correctly takes about forty-five minutes done right. Done wrong, it takes that plus however long you spend at the range chasing a zero that’s drifting because something in the mount isn’t settled. The difference is almost always in the preparation steps that feel like they could be skipped.
Start with a cleared rifle. Magazine out, action open, chamber visually and physically verified empty. This sounds repetitive if you’ve heard it a hundred times, but running a torque wrench around an action with anything in the chamber isn’t a mistake you get to make twice. Clear the rifle, engage the safety, keep the muzzle pointed somewhere sensible, and then proceed.

Clean the mating surfaces before anything goes on them. The receiver rail and the mount contact surfaces need to be free of oil, grit, and any debris from the last time something was mounted there. A patch with solvent and a dry wipe is enough. Old threadlocker residue on screw holes is worth removing with a pick or probe – a base or ring that can’t seat fully flat because of buildup in the threads will affect alignment and zero consistency.
Inspect the scope tube, rings, and mount before assembly. Verify the tube diameter matches your rings – 30mm rings on a 30mm tube, not approximately 30mm. Check the rail on the receiver for any burrs or raised metal that would prevent the mount from seating flat. Run your finger along it. If you feel anything, address it before mounting.
Step 1: Choose the Right Mount Height
This is the decision that determines whether your cheek weld is natural or awkward, and it’s the step most often made without enough thought. Prism scopes have a shorter eye relief than variable rifle scopes – typically 2.5 to 3.5 inches – which means the relationship between mount height, stock geometry, and head position matters more than it does with an optic that’s more forgiving of eye placement.
On an AR-15, the standard recommendation is lower-third co-witness height – the mount positions the scope so backup iron sights appear in the lower portion of the view rather than centered. This is usually achieved with a 1.93-inch absolute height mount and produces a natural cheek weld on most AR stocks without requiring any modification. Some shooters prefer absolute co-witness at 1.41 inches, which aligns irons centered in the view – this works but often requires a higher stock or cheek riser to maintain a natural head position.
On a bolt-action, you’re typically using low-profile rings directly on the receiver’s integral scope bases. The goal here is keeping the scope as low as possible while clearing the objective lens above the barrel – measure the objective diameter, divide by two, and add a few millimeters of clearance. A scope sitting higher than it needs to on a bolt-action raises your head off the stock and makes consistent cheek weld harder to maintain under recoil.
For AR-15 setups where the prism scope needs to sit forward of the ejection port area, a cantilever mount is often the right solution. It shifts the optic forward while keeping a single-piece mount connection to the rail, which is more mechanically stable than stacking adapters.
Step 2: Mount and Level the Scope
Install the base or mount to the receiver first, before the scope goes anywhere near it. Torque base screws in a crisscross pattern, bringing them up to spec in increments rather than torquing one to final spec and then the next. This keeps the base pulling down evenly rather than rocking on one end. The torque specification is in the mount manufacturer’s instructions – usually 15 to 25 inch-pounds for ring cap screws, sometimes higher for base-to-receiver screws depending on the mount design. Use a torque driver, not a hex key and guesswork.
Place the bottom halves of the rings and set the scope in position with the caps open. Slide the scope fore and aft to establish eye relief before closing anything. The way to verify eye relief correctly: shoulder the rifle in your actual field position – not the position you’d use at a bench, the one you’d use in the field sitting against a tree or prone over a pack – and slide the scope until the full field of view appears without any dark ring around the edge. Mark that position mentally or lightly on the scope tube.
Level the reticle before closing the rings. A small bubble level on the top of the scope’s turret housing, compared to a level on the rail or receiver, shows any cant in the reticle. A tilted reticle causes point of impact to walk horizontally when you dial elevation – the more you dial, the more it walks. At prism scope hunting distances this matters less than at long-range precision distances, but getting it right from the start costs nothing and correcting it later costs time and frustration.
Close the ring caps and torque them in an alternating pattern – a few turns on one side, the same on the other – so the scope settles into the rings evenly. Final torque to spec. Confirm the scope doesn’t rotate in the rings by trying to twist it firmly with your hand. It shouldn’t move.
Step 3: Bore-Sight Before You Drive to the Range
Bore-sighting gets your first shot on paper. It doesn’t zero the rifle – it gets you close enough that your zeroing session uses ten rounds instead of thirty.
On a bolt-action, remove the bolt and look through the barrel at a target 25 yards away. Center the target in the bore’s field of view, then adjust the scope’s turrets until the crosshair sits on the same point. You’re not being precise here – you’re getting the reticle and the bore pointed at roughly the same place.
On an AR-15, use a chamber-mounted laser bore-sighter. Insert it per the manufacturer’s instructions, turn it on, and adjust the scope turrets until the crosshair matches the laser dot at 25 yards. Remove it before firing.
Before leaving your setup area: record how many clicks you moved from the factory center position to reach bore-sight alignment. This is useful context if something goes wrong at the range and you need to reset. Confirm the reticle is illuminated correctly if you’re using the illumination – verify the battery is good and the brightness adjustment works through its range.
Step 4: Live-Fire Zeroing
Go to the range with the ammunition you plan to use and a stable rest. Sandbags or a proper rifle rest produce more consistent groups than improvised solutions – the goal is removing shooter variability so you can see what the rifle is actually doing independently of technique.
Start at 25 yards. Fire a three-shot group from a rested position, aiming at a defined point. Note where the group lands relative to point of aim. If you’re 3 inches high and 1 inch right, calculate the adjustment in clicks based on your scope’s click value at 25 yards. Most hunting-grade prism scopes use 1/4 MOA clicks – at 25 yards, one click moves point of impact approximately 0.065 inches. At 50 yards, the same click moves approximately 0.13 inches. Use that math to get your adjustments close before firing another group.
Once centered at 25 yards, move to your intended zero distance. For an AR-15 in 5.56, a 50-yard zero is practical for most applications – the bullet crosses the line of sight on the way up around 15 yards and again at 50, staying within an inch or so of point of aim from close range out to about 200 yards. For a bolt-action hunting rifle, 100 yards is the standard starting point.
Fire confirmation groups at your zero distance. Three shots is a group; five shots is a better group. Look at where the center of the group lands, not where any individual shot went. One flier doesn’t tell you anything useful about the zero – the center of a group does.
After the first 15 to 20 rounds, re-check all ring and mount torque. Metal and synthetic components settle slightly under recoil and heat cycles, and screws that were at spec when you left the bench may be slightly under spec after initial rounds. A quick re-torque at this point prevents the gradual zero shift that shows up after a hard day of shooting.
Step 5: Verify and Record Everything
A zero you can’t recreate is not a useful zero. Before leaving the range, record the following: turret positions from factory center (or use photos of the turret faces), zero distance, ammunition brand and lot number, ambient temperature and conditions. That record is what lets you diagnose a problem later or re-establish the zero after a scope removal or swap.
If your scope has a zero-stop mechanism, set it after confirming the zero. Dial to your confirmed zero position, set the stop per the manufacturer’s instructions, and verify that the turret hits the stop when you spin down. Test it several times to confirm the stop is engaging consistently.

For scopes without a zero-stop – which includes most prism scopes in this category – the zero record is your reference. If you need to confirm zero before a hunt, fire a single shot at a known distance and compare to your recorded data rather than re-zeroing from scratch unless the shot tells you something is genuinely off.
Ongoing Maintenance
Check mount torque periodically – after any hard use, after transport in a vehicle over rough terrain, and at the start of each season. Clean lens surfaces with lens tissue and appropriate cleaner, not paper towels or T-shirts. Replace the illumination battery proactively – before a hunt, not when it dies on the stand.
If zero shifts without an obvious cause – a known drop or impact – work through the possibilities methodically. Re-torque rings first. Verify the base is still seated flat on the receiver. Check the rail itself for any damage or loosening. Test with a fresh box of ammunition from a different lot to rule out ammunition variation. If none of those explain the shift, the scope’s internal erector system may need professional inspection.

A prism scope mounted correctly and maintained consistently will hold its zero through a season of real use. Most zero problems that hunters and shooters blame on the optic trace back to mounting steps that were rushed or skipped. Take the time at the beginning. It doesn’t come back to cost you later.
Frequently Asked Questions
Why does my prism scope lose zero after a few range sessions?
The most common cause is rings that weren’t torqued to the manufacturer’s specification and are allowing micro-movement under recoil. Even small movements – fractions of a millimeter – shift point of impact measurably over time. Start by re-torquing every ring screw and base screw to spec with a calibrated torque driver. If the problem persists after correct torque, inspect the rail interface for any debris or burrs preventing flat seating, and check whether the scope tube is being deformed by uneven ring pressure – which happens when rings from different manufacturers or mismatched sets are used. Persistent zero shift after correct torque often indicates an internal erector issue in the scope itself.
What’s the best zero distance for a prism scope on an AR-15?
For a general-purpose AR-15 in 5.56, a 50-yard zero is practical for most applications. Standard velocity 5.56 zeroed at 50 yards stays within approximately one inch of point of aim from close range out to about 200 yards, which covers the realistic range of most prism scope applications without requiring holdover adjustments. For defensive or patrol carbine use where shots may be very close, a 25-yard zero is also common – it places the bullet about an inch high at 100 yards which is easily managed mentally. The choice between 25 and 50 yards depends on your most likely engagement distance. What matters most is knowing what your rifle does at the distances you shoot, which requires confirming the zero at those distances rather than assuming the trajectory follows published tables exactly.
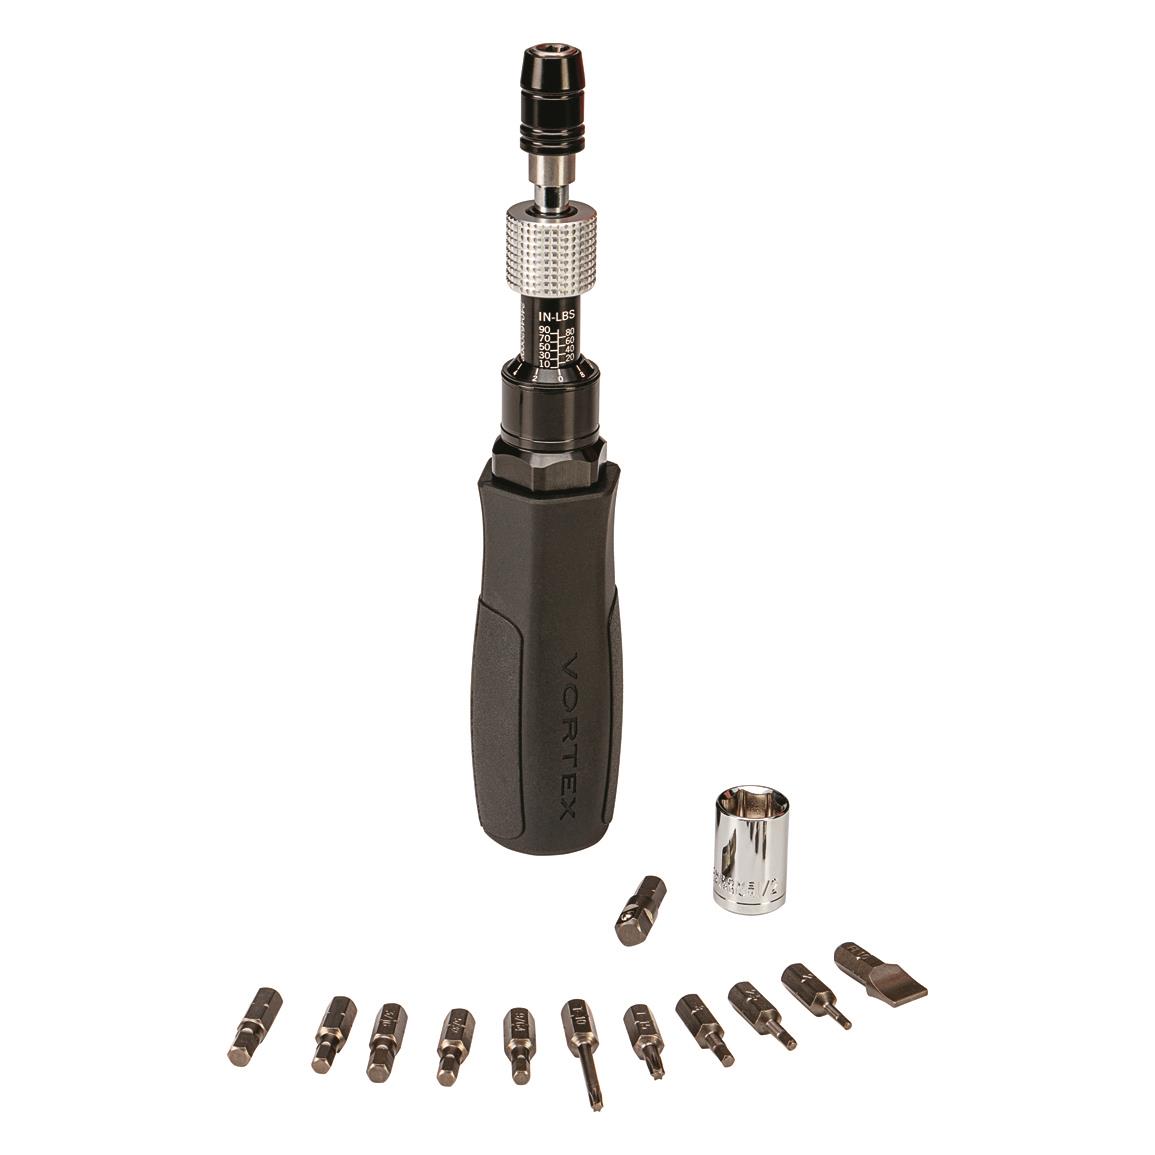
Do I need a torque wrench for mounting a prism scope?
Yes, if you want the mount to hold consistently over time and under repeated recoil. The argument against torque wrenches is that experienced gunsmiths can feel the right torque by hand – which is true for experienced gunsmiths who’ve torqued thousands of fasteners. For everyone else, a torque-limiting driver calibrated to the manufacturer’s specification prevents both under-torque (rings that creep and shift zero) and over-torque (stripped threads and deformed scope tubes). A quality torque driver for optics work costs $30 to $60 and prevents mistakes that cost significantly more to fix. Buy one, use it on everything you mount.
How do I know if my reticle is level after mounting?
Use a small bubble level. Place it on a flat surface of the scope’s turret housing and compare to a level placed on the receiver or barrel. If the scope’s level reads level when the rifle is level, the reticle is plumb with the bore. A tilted reticle causes point of impact to walk horizontally when you dial elevation corrections – the further you dial, the more horizontal drift you introduce. At prism scope distances inside 200 yards this effect is small but cumulative. A reticle leveling kit with two levels and a reference bar is a $15 to $25 investment that makes this verification fast and reliable.
Can I use threadlocker on scope ring screws?
On some fasteners yes, on others no. Base-to-receiver screws that thread into the rifle benefit from low-strength threadlocker (Loctite 222 purple) to prevent vibration loosening over thousands of rounds. Ring cap screws that clamp around the scope tube should not have threadlocker – they need to be removable for future scope adjustments or removal without heat, and threadlocker in that location can make the ring cap difficult to loosen without risk of stripping. Always follow the ring and base manufacturer’s recommendations on which specific fasteners they suggest treating. When in doubt, correct torque without threadlocker is better than incorrect torque with it.


Comments are closed.