
Step-by-Step Guide to Mounting Our Ruger 10/22 Scope – Get Hunt-Ready for 2026


Published: March 2026
A scope mounted wrong is worse than no scope at all. It gives you false confidence right up until the moment you need it to be right.
Why the 10/22 Deserves a Proper Setup
The Ruger 10/22 is one of those rifles that people underestimate because it’s affordable and chambered in .22 LR. They throw whatever scope was on sale at it, tighten the rings finger-tight, and call it done. Then they wonder why it won’t hold zero, why the rings are creeping under recoil, or why the image is soft in the morning when they’re trying to take a clean head shot on a squirrel at 40 yards.

I’ve set up a lot of 10/22s over the years – for myself, for new hunters, for friends who bought the rifle and didn’t know quite what to do with it next. The mounting process is the same for a .22 as it is for a centerfire: if you skip steps, you pay for it at the range or in the field. A properly mounted scope on a 10/22 will hold zero through a season of squirrel and small game hunting and give you an honest picture of what the rifle and the shooter are actually capable of. A hastily mounted scope will underperform both.
This guide covers every step from scope selection through live-fire zeroing. It takes longer to do it right the first time. It takes longer still to fix it when you don’t.
Step 1: Picking the Right Scope
The 10/22 is a rimfire rifle with an effective hunting range that tops out around 100 yards under most real-world conditions. Scope selection should reflect that honestly – not the scope you’d put on a .308 for 400-yard shots, not a fixed 4x that limits you unnecessarily, but something genuinely matched to what this rifle does.
For squirrel and small game hunting, a 3-9×40 is the sensible default. The 3x minimum keeps close-range shots in brush manageable. The 9x ceiling is adequate for head shots at 75 yards – the kind of precision .22 hunting demands – without being overkill. The 40mm objective keeps the scope light and allows medium ring height on a factory stock, which preserves a natural cheek weld without requiring modifications.
A 4-12×44 makes sense if your hunting involves more open-country shooting where you’re taking squirrels or prairie dogs at 100 yards consistently. The extra magnification helps with precise shot placement at distance. The larger objective and higher rings are the tradeoffs.
What matters most in a rimfire scope isn’t magnification range – it’s glass quality at the lower end of the price spectrum where most 10/22 owners are shopping. A cheap scope with poor coatings on a 10/22 will frustrate you every low-light morning when the image is gray and you can’t see the squirrel’s head clearly against bark. Spend what you need to spend to get glass that works in actual hunting conditions, not just on a bright-day range. Run the flashlight test before you buy anything – shine a penlight into the objective at an angle and look for colored reflections, not white ones.
One practical note specific to the 10/22: the rifle’s receiver is not particularly tall, which means eye relief and ring height need to be thought through together. Make sure the scope you’re buying provides comfortable eye relief – 3 to 4 inches – before you commit. Try shouldering the rifle in the store if possible.
Step 2: Choosing Mounts and Rings
The factory 10/22 receiver has a 3/8-inch dovetail groove machined into it. You can mount a scope directly to this with dovetail rings, or you can add a Picatinny adapter base and use standard rings. Both approaches work – the choice depends on what scope you’re using and what rings you already have.
Dovetail rings that clamp directly to the receiver are the lightest and simplest solution. They work well for hunting applications where the scope stays on the rifle. Their limitation is that dovetail rings can creep under repeated recoil – even .22 LR recoil over thousands of rounds adds up – so stop screws or recoil arrestors built into the rings are worth looking for.
A Weaver or Picatinny adapter base opens up a wider range of ring choices and is more positive mechanically. The cross-slots in a Picatinny rail give the rings a positive stop that prevents creep. If you plan to put real rounds through this rifle – and a 10/22 is the kind of rifle you put real rounds through – a Picatinny adapter is worth the few extra dollars.
Ring height needs to clear the objective lens without placing the scope uncomfortably high. A 40mm objective on a factory stock typically works with medium rings. A 44mm or larger objective will likely need high rings. The test: mount the bottom ring halves, set the scope in position without closing the caps, and shoulder the rifle naturally. Your eye should find the scope center without craning your neck up or pressing your face hard into the stock. If it doesn’t, adjust ring height before proceeding.
Don’t mix ring brands or use mismatched components. Rings from the same manufacturer are machined to work together. Mismatched rings introduce alignment errors that stress the scope tube and affect zero consistency. Buy matched pairs.
Step 3: Prep the Rifle and Workspace
Before touching any hardware, clear the rifle. Remove the magazine, retract the bolt, and visually and physically verify the chamber is empty. This sounds obvious and it is, but do it every time, for every step of this process.
Set up on a stable surface – a gun vise is ideal, a rolled-up sleeping bag on a workbench works in a pinch. What you’re avoiding is the rifle shifting or tipping while you’re applying torque to small screws. A rifle that moves under the wrench strips threads and frustrates the process.
Lay your tools out in order: appropriate-size Allen keys or bits for your specific rings and base hardware, a torque wrench or torque driver calibrated for the spec you’re targeting, and a small parts tray to keep screws from rolling onto the floor. A clean patch and solvent to wipe the mating surfaces before installation – any grit or old threadlocker residue on the receiver’s scope mounting area will prevent the base from seating flat, which affects alignment and zero consistency.
If you’re replacing old hardware, take your time removing it. Use the correct driver and maintain downward pressure on the bit while turning to prevent cam-out and stripping. Inspect the receiver grooves or screw holes for any burrs or damage from previous installation, and address them before proceeding.
Step 4: Install Bases and Rings
Seat the base to the receiver per the manufacturer’s instructions. For dovetail rings that clamp directly, slide them into the groove and position them at your planned fore-aft location. For a Picatinny adapter base, place it flat, start all screws finger-tight before torquing any of them, and work in a crisscross pattern to keep the base pulling down evenly rather than rocking on one end.
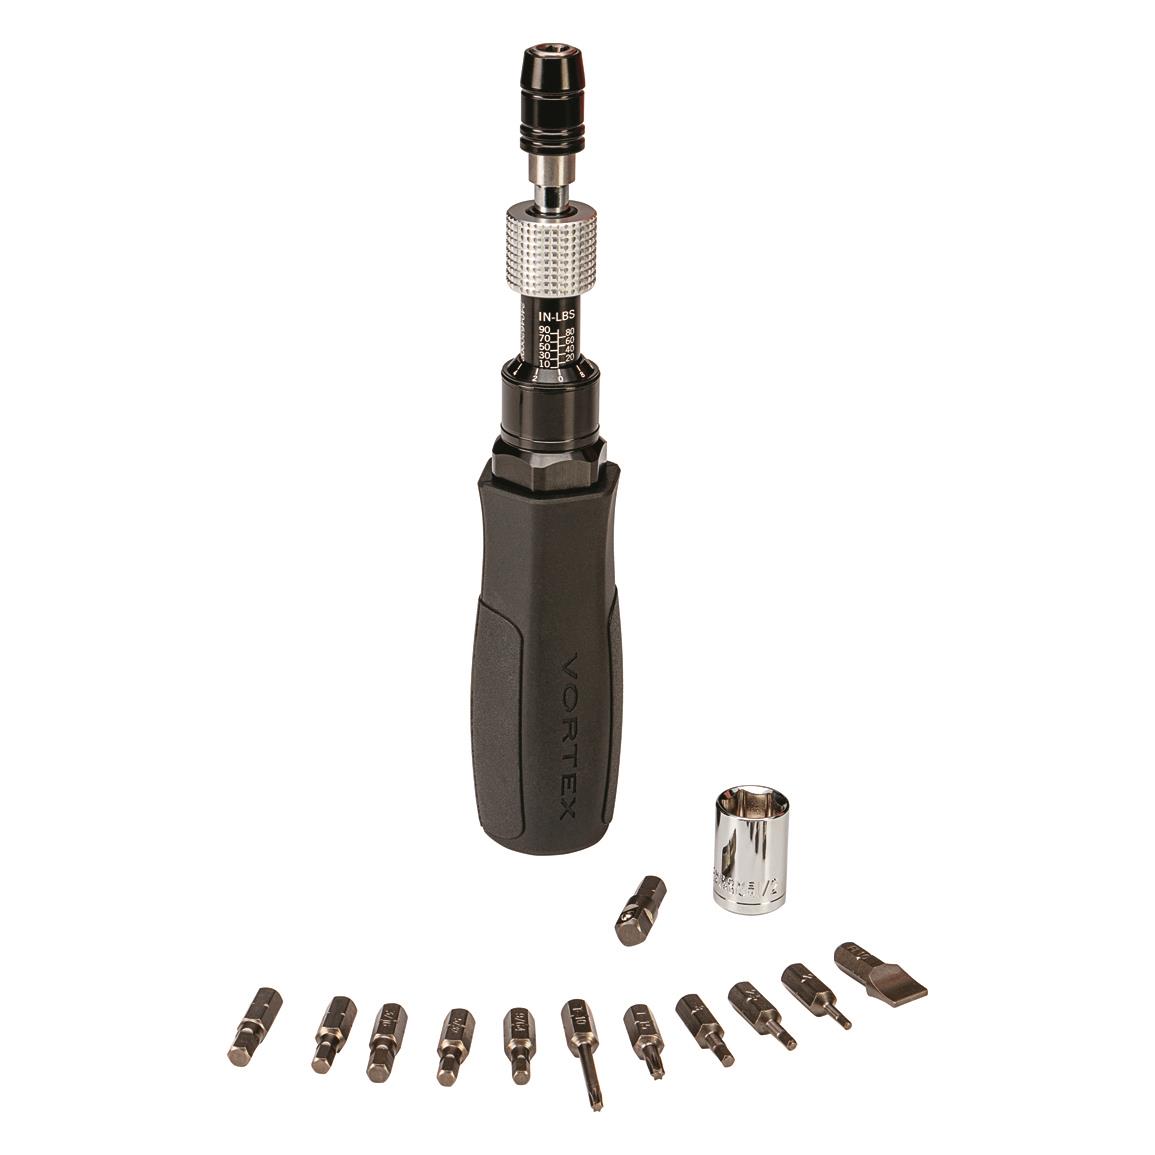
Torque matters more than most shooters think, and it matters in both directions. Under-torque leaves the base or rings with movement that will shift your zero. Over-torque strips threads or distorts ring bores, which damages the scope tube. Get the torque specification from the ring and base manufacturer – it’s usually printed in the instructions or available on their website – and hit that number. For most hunting-grade scope ring sets, this is in the 15 to 25 inch-pound range. A proper torque wrench or torque-limiting driver is a $30 to $50 investment that prevents $200 mistakes.
Place the bottom ring halves, set the scope in position with the caps open, and set eye relief before closing anything. Shoulder the rifle in your normal hunting position – not the position you use at the bench, the position you’d use in the field – and slide the scope fore or aft until the full field of view is clear with a comfortable eye-to-eyepiece distance. Mark that position mentally or with a pencil mark on the scope tube.
Level the reticle before closing the rings. A small bubble level placed on a flat surface of the receiver or on the scope turrets, compared to a level placed on the barrel, reveals any cant in the reticle. A tilted reticle causes your shots to walk horizontally when you dial elevation, which matters more at distance than at .22 ranges but is worth getting right from the start.
Close the ring caps and torque them in an alternating pattern – a few turns on one side, a few on the other – so the scope settles evenly into the rings rather than being clamped from one side. Final torque to manufacturer specification.
Step 5: Bore-Sight Before You Go to the Range
Bore-sighting saves ammunition and frustration. On a 10/22, remove the bolt and look through the barrel at a target 25 yards away. Center the target in the bore, then adjust the scope’s turrets until the crosshair aligns with the same point. You’re not zeroing – you’re getting close enough that your first shots will be on paper at 25 yards.
A laser bore-sighter speeds this up and doesn’t require removing the bolt. Insert it in the muzzle or chamber adapter, turn it on, and adjust the scope until the crosshair matches the laser dot at your target distance. Either method gets you to first-shot-on-paper, which is all bore-sighting needs to accomplish.

Set the parallax adjustment if your scope has one. For 10/22 hunting distances – primarily 25 to 75 yards – set it to your most common shooting distance. Parallax error at .22 LR hunting ranges is small but real, and eliminating it produces better groups from a rest.
Step 6: Live-Fire Zeroing
Take the rifle to the range with a solid rest and the ammunition you plan to hunt with. .22 LR can vary meaningfully between brands and even between lots of the same brand – find an accurate load for your specific rifle before you zero, and zero with that load.

Start at 25 yards. Fire three-shot groups from a rested position, aiming at a small, defined point. Note where the group lands relative to your point of aim and adjust accordingly. Most scope turrets use 1/4 MOA or 1/8 MOA clicks – at 25 yards, 1/4 MOA is about 0.065 inches. Do the math on how many clicks to move your group to center before you turn the turrets.
Once centered at 25 yards, move to your intended hunting zero. For squirrel and small game hunting in mixed timber, I zero at 50 yards – the bullet crosses the line of sight on the way up at about 15 yards and again at 50, keeping it within an inch of point of aim from muzzle to 60 yards with standard velocity .22 LR. For open-country work where 75 to 100 yards is realistic, adjust accordingly.
After the first 10 to 15 rounds, re-check ring torque. Metal and synthetic components settle slightly under recoil and heat cycles, and a quick re-torque at this point prevents the creep that shows up after a day in the field.
Write down your zero: clicks from center, distance zeroed, ammunition brand and lot number, temperature and conditions. That record is what lets you recreate the zero quickly if something shifts or if you re-mount the scope later.
With that done, the rifle is ready. The work up front means confidence in the field – which is the only reason to do any of this in the first place.
Frequently Asked Questions
Do I need a torque wrench for a .22 scope mounting?
Yes, if you want the job done correctly and repeatably. The argument against using one is that it’s overkill for a rimfire rifle. The argument for it is that under-torqued rings allow zero shift under recoil, and over-torqued rings strip threads or deform the scope tube – both of which are expensive and frustrating problems that a torque wrench prevents. A torque-limiting driver calibrated to your ring manufacturer’s specification costs $30 to $50 and prevents $200 mistakes on the scope or the receiver. Buy it once, use it on everything you mount.

What’s the best zero distance for a 10/22 used for hunting?
For squirrel and small game hunting in mixed timber where most shots are inside 60 yards, a 50-yard zero is practical. Standard velocity .22 LR zeroed at 50 yards stays within about an inch of point of aim from close range out to 60 yards, which covers most realistic shot distances without holdover. For open-country small game or varmint work where shots extend to 75 to 100 yards, a 75-yard zero keeps the trajectory flatter across that range. Zero with the specific ammunition you plan to hunt with – .22 LR varies enough between loads that a zero established with one brand may not transfer accurately to another.
Can I mount a centerfire scope on a 10/22?
Mechanically yes, but the result is often a poor match. Most centerfire hunting scopes have minimum parallax settings of 50 to 100 yards, which means they’re not optimized for the 25 to 75 yard shooting distances most 10/22 hunting involves. The image will still be usable but not as sharp as a scope with a parallax adjustment that covers rimfire ranges. Scopes marketed specifically for rimfire use typically have parallax adjustment down to 10 or 25 yards and are better matched to the application. If you have a quality variable scope with an adjustable parallax that goes below 50 yards, it’ll work fine. A fixed parallax scope set for 100 yards is suboptimal.
Why does my 10/22 lose zero between range sessions?
The most common causes are scope rings that aren’t torqued correctly and are allowing micro-movement under recoil, a base that’s not sitting fully flat on the receiver, or a scope with poor internal mechanics that don’t maintain a consistent erector position. Start by re-torquing all ring and base screws to the manufacturer’s specification with a torque driver. If the problem persists, inspect the receiver’s mounting surface for any debris or old threadlocker residue preventing a flat seating. If torque is correct and the surface is clean, the scope itself may have internal issues – run the flashlight test and check turret feel for any mushiness or inconsistency that suggests mechanical problems inside the scope.
Should I use threadlocker on scope mounting screws?
On some fasteners, yes – specifically base screws that thread into the receiver, where vibration-induced loosening over thousands of rounds can shift zero. Use a low-strength threadlocker like Loctite 222 (purple) rather than medium or high strength – you want to prevent vibration loosening while still being able to remove screws for future adjustments or disassembly without damaging the receiver. Do not use threadlocker on ring cap screws that clamp around the scope tube. Those need to be removable without heat, and threadlocker in that location can make future scope removal or adjustment unnecessarily difficult. Follow the ring and base manufacturer’s guidance on which specific fasteners they recommend treating.


Comments are closed.